How Do You Draw A Clover? A Step-by-Step Guide With Expert Tips
Learning how to draw a clover can be a fun and creative activity that anyone can enjoy, regardless of their artistic skill level. Whether you're a beginner or an experienced artist, drawing a clover is a great way to improve your skills and express your creativity. This guide will walk you through the process step by step, ensuring you can create beautiful clover illustrations in no time.
Clovers are not just simple plants; they hold deep cultural significance, often associated with good luck and prosperity. By mastering how to draw a clover, you'll not only enhance your artistic abilities but also gain a deeper appreciation for the symbolism behind this iconic plant.
In this comprehensive guide, we'll cover everything you need to know about drawing clovers, from basic techniques to advanced tips. Let's dive in!
- Food At Jordan Landing
- Walmart Hagerstown Md Sharpsburg Pike
- Train Ride Virginia City Nv
- Rush Hour Go Karts Garner
- Amphitheater Tampa Florida State Fairgrounds
Table of Contents
- Introduction to Drawing a Clover
- Materials You'll Need
- Step-by-Step Guide to Draw a Clover
- Creating Different Clover Variations
- Expert Tips for Drawing Clovers
- Shading Techniques for Realistic Clovers
- Drawing Clovers Digitally
- The History and Symbolism of Clovers
- Practicing Your Skills
- Conclusion
Introduction to Drawing a Clover
Drawing a clover is an excellent way to improve your artistic skills while also exploring the rich symbolism behind this plant. Clovers are known for their unique shape, with three or four leaves arranged symmetrically. Understanding how to capture this symmetry is key to creating a realistic clover drawing.
Why Learn How to Draw a Clover?
Learning how to draw a clover can be both enjoyable and rewarding. It allows you to explore the intricate details of nature and practice fundamental drawing techniques such as symmetry, proportion, and shading. Additionally, clovers are often associated with luck and prosperity, making them a popular subject for artistic expression.
By mastering the art of drawing clovers, you'll be able to incorporate them into various art projects, from greeting cards to digital illustrations. This versatility makes clover drawings a valuable addition to any artist's repertoire.
- Writers Only Murders In The Building
- Why Is Blueface Facing 4 Years
- Cold Spring Harbor Park
- Indiana Beach Amusement And Water Park
- Smoking Jerky On A Traeger
Materials You'll Need
Before you start drawing, it's essential to gather the right materials. Having the correct tools will make the process smoother and help you achieve better results. Here's a list of materials you'll need:
- Pencils (various grades, such as 2B, 4B, and 6B)
- Eraser (kneaded or plastic)
- Sketchbook or drawing paper
- Sharpener
- Colored pencils or markers (optional)
These materials are widely available and affordable, making it easy for anyone to get started with drawing clovers.
Step-by-Step Guide to Draw a Clover
Now that you have your materials ready, let's dive into the step-by-step process of drawing a clover. Follow these instructions carefully to create a beautiful and realistic clover illustration.
Step 1: Sketch the Basic Shape
Begin by lightly sketching the overall shape of the clover. Draw a small circle in the center, which will serve as the base for the stem. From this circle, extend three curved lines outward to form the three leaves of the clover.
Step 2: Add Leaf Details
Once you have the basic shape in place, start adding the details of each leaf. Each leaf should have a heart-shaped outline, with the pointed end facing outward. Use smooth, flowing lines to create a natural look.
Step 3: Refine the Outline
Go over your initial sketch and refine the outline of the clover. Make sure the leaves are symmetrical and evenly spaced. Adjust any lines that need improvement to ensure a balanced appearance.
Step 4: Add the Stem
Draw a thin stem connecting the leaves to the base circle. The stem should be straight but slightly curved to give it a more natural look. You can also add small details, such as texture or veins, to make the stem appear more realistic.
Step 5: Finalize the Drawing
Erase any unnecessary guidelines and finalize your clover drawing. Use a darker pencil to outline the clover and add any additional details, such as shadows or highlights, to enhance its realism.
Creating Different Clover Variations
While the classic three-leaf clover is the most common, there are many variations you can explore. Here are a few ideas to inspire your creativity:
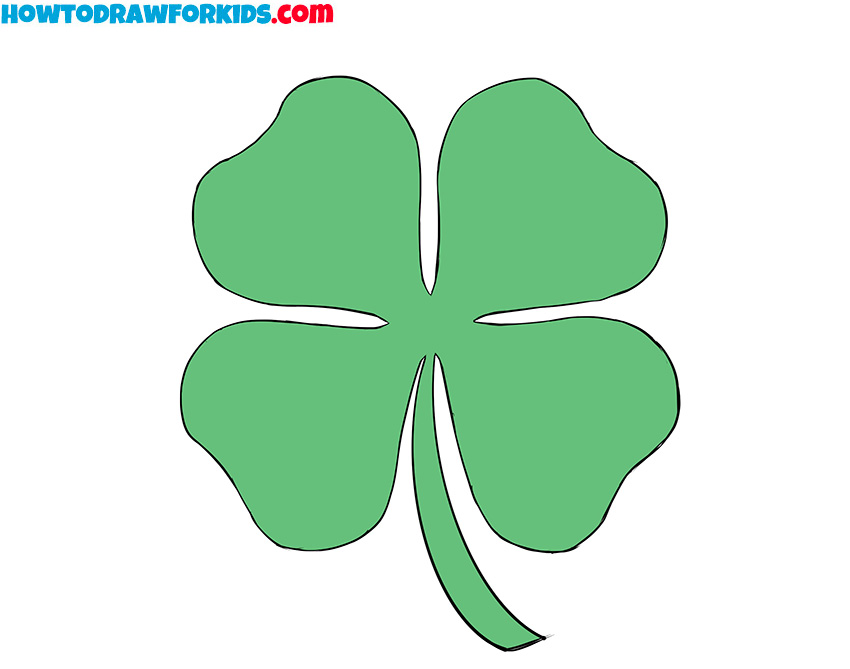
- Four-Leaf Clover: Add an extra leaf to create a rare and lucky four-leaf clover.
- Stylized Clovers: Experiment with different styles, such as cartoonish or abstract designs, to give your clover a unique look.
- Colored Clovers: Use colored pencils or markers to add vibrant colors to your clover drawing.
By trying out different variations, you'll discover new ways to express your creativity and develop your artistic skills.
Expert Tips for Drawing Clovers
To take your clover drawings to the next level, consider these expert tips:
- Pay attention to symmetry when drawing the leaves.
- Use light, gentle strokes when sketching to avoid mistakes.
- Practice shading techniques to add depth and realism to your drawings.
- Study real clovers or reference images to better understand their structure and details.
These tips will help you create more accurate and visually appealing clover illustrations.
Shading Techniques for Realistic Clovers
Shading is an essential aspect of creating realistic drawings. By mastering shading techniques, you can add depth and dimension to your clover illustrations. Here are some shading methods to try:
- Hatching: Create parallel lines to add shading to your drawing.
- Cross-Hatching: Combine hatching lines in different directions for a more detailed effect.
- Stippling: Use small dots to build up shading gradually.
Experiment with these techniques to find the one that works best for your style and the look you want to achieve.
Drawing Clovers Digitally
If you prefer digital art, drawing clovers can be just as rewarding. Many digital art programs offer tools and features that make it easy to create detailed and vibrant clover illustrations. Here are some tips for drawing clovers digitally:
- Use a graphics tablet for more precise control over your strokes.
- Experiment with different brush settings to achieve various textures and effects.
- Utilize layers to separate different elements of your drawing, such as the leaves and stem.
Digital drawing offers endless possibilities, allowing you to explore new techniques and styles with ease.
The History and Symbolism of Clovers
Clovers have a rich history and deep symbolism that make them a fascinating subject for artists. Traditionally, clovers are associated with good luck and prosperity. In Celtic mythology, they were believed to offer protection against evil spirits. Today, clovers remain a popular symbol of luck and are often used in various cultural and artistic contexts.
Understanding the history and symbolism behind clovers can enhance your appreciation for this plant and inspire your artistic creations.
Practicing Your Skills
Like any skill, drawing clovers takes practice to master. Set aside time each day to practice and refine your techniques. Keep a sketchbook to document your progress and experiment with different styles and methods. The more you practice, the better you'll become at capturing the essence of clovers in your drawings.
Conclusion
Learning how to draw a clover is a rewarding and enjoyable experience that can help you develop your artistic skills. By following the step-by-step guide and expert tips provided in this article, you'll be well on your way to creating beautiful and realistic clover illustrations.
We encourage you to share your creations with others and continue exploring the world of art. Don't forget to leave a comment or share this article with fellow artists who might find it helpful. Happy drawing!
References:
- South Dakota State Theater
- Pymatuning State Park Spillway
- Writers Only Murders In The Building
- Isekai Harem Monogatari Crunchyroll
- Jerry Jones And Mike Mccarthy

How to Draw a Clover 11 Steps (with Pictures) wikiHow
How To Draw A Shamrock Clover Religionisland Doralutz

How To Draw A Shamrock Clover Religionisland Doralutz
