How Do I Stain A Table: A Comprehensive Guide For Beautiful, Long-Lasting Results
Staining a table is an excellent way to enhance its natural beauty and durability while adding a personal touch to your home decor. Whether you're refinishing an old table or giving a new one a custom look, understanding how to stain a table properly is essential. In this guide, we'll walk you through every step of the process, ensuring your project turns out flawlessly.
Wooden tables are timeless pieces of furniture that can last for generations with proper care. Staining a table not only protects the wood but also elevates its aesthetic appeal. With the right techniques and materials, you can achieve professional-looking results at home.
This article will cover everything from preparing your workspace to applying the final coat of stain. By the end, you'll have the knowledge and confidence to tackle any staining project like a pro. Let's dive in!
- Hugh Jackman Kidnapped Movie
- Bj S Restaurant In Carlsbad
- Dupage Dodge Jeep Chrysler Ram
- Grant Holloway And Chase
- El Jefe Taqueria Boston
Table of Contents
- Preparing Your Workspace and Materials
- Essential Tools and Materials for Staining a Table
- Preparing the Wood Surface
- How to Choose the Right Stain for Your Table
- Applying the Stain: Step-by-Step Guide
- Finishing Touches for Long-Lasting Protection
- Pro Tips for Perfect Results
- Maintaining and Caring for Your Stained Table
- Frequently Asked Questions About Staining a Table
- Conclusion: Transform Your Table with Stain
Preparing Your Workspace and Materials
Before you begin the staining process, it's crucial to set up a proper workspace and gather all necessary materials. This step ensures that your project runs smoothly and efficiently.
Choose a well-ventilated area, preferably outdoors or in a garage, to minimize fumes and avoid staining accidents. Lay down drop cloths or plastic sheets to protect the surrounding surfaces from spills. Ensure the area is clean and free of dust, as particles can affect the finish of your table.
Why Workspace Preparation Matters
- A clean workspace prevents contamination of the stain.
- Good ventilation protects your health by reducing exposure to harmful chemicals.
- An organized area helps you stay focused and efficient during the project.
Essential Tools and Materials for Staining a Table
To stain a table successfully, you'll need the right tools and materials. Here's a list of everything you'll require:
- Las Vegas Hotel Mgm Grand Pictures
- Words Don T Come Easy Lyrics
- Elle Macpherson How Tall
- What Age Do Kittens Drink Water
- Universal Studios Hollywood Whoville
- Sandpaper (120-grit and 220-grit)
- Tack cloth or lint-free rags
- Wood conditioner (optional)
- Wood stain of your choice
- Paintbrushes or foam applicators
- Mineral spirits or paint thinner for cleanup
- Protective gear: gloves, mask, and safety goggles
Having these items on hand will ensure you're prepared for every step of the staining process.
Preparing the Wood Surface
Proper preparation of the wood surface is critical for achieving a smooth and even stain finish. Start by sanding the table with 120-grit sandpaper to remove any old finish or imperfections. Follow up with 220-grit sandpaper for a finer texture. Wipe the surface with a tack cloth to remove dust and debris.
If the table has a pre-existing finish, you may need to strip it using a chemical stripper. Always follow the manufacturer's instructions carefully when using such products.
Common Mistakes to Avoid
Skipping the sanding step or not cleaning the surface thoroughly can lead to uneven stain absorption and a poor finish. Take the time to prepare the wood properly to ensure the best results.
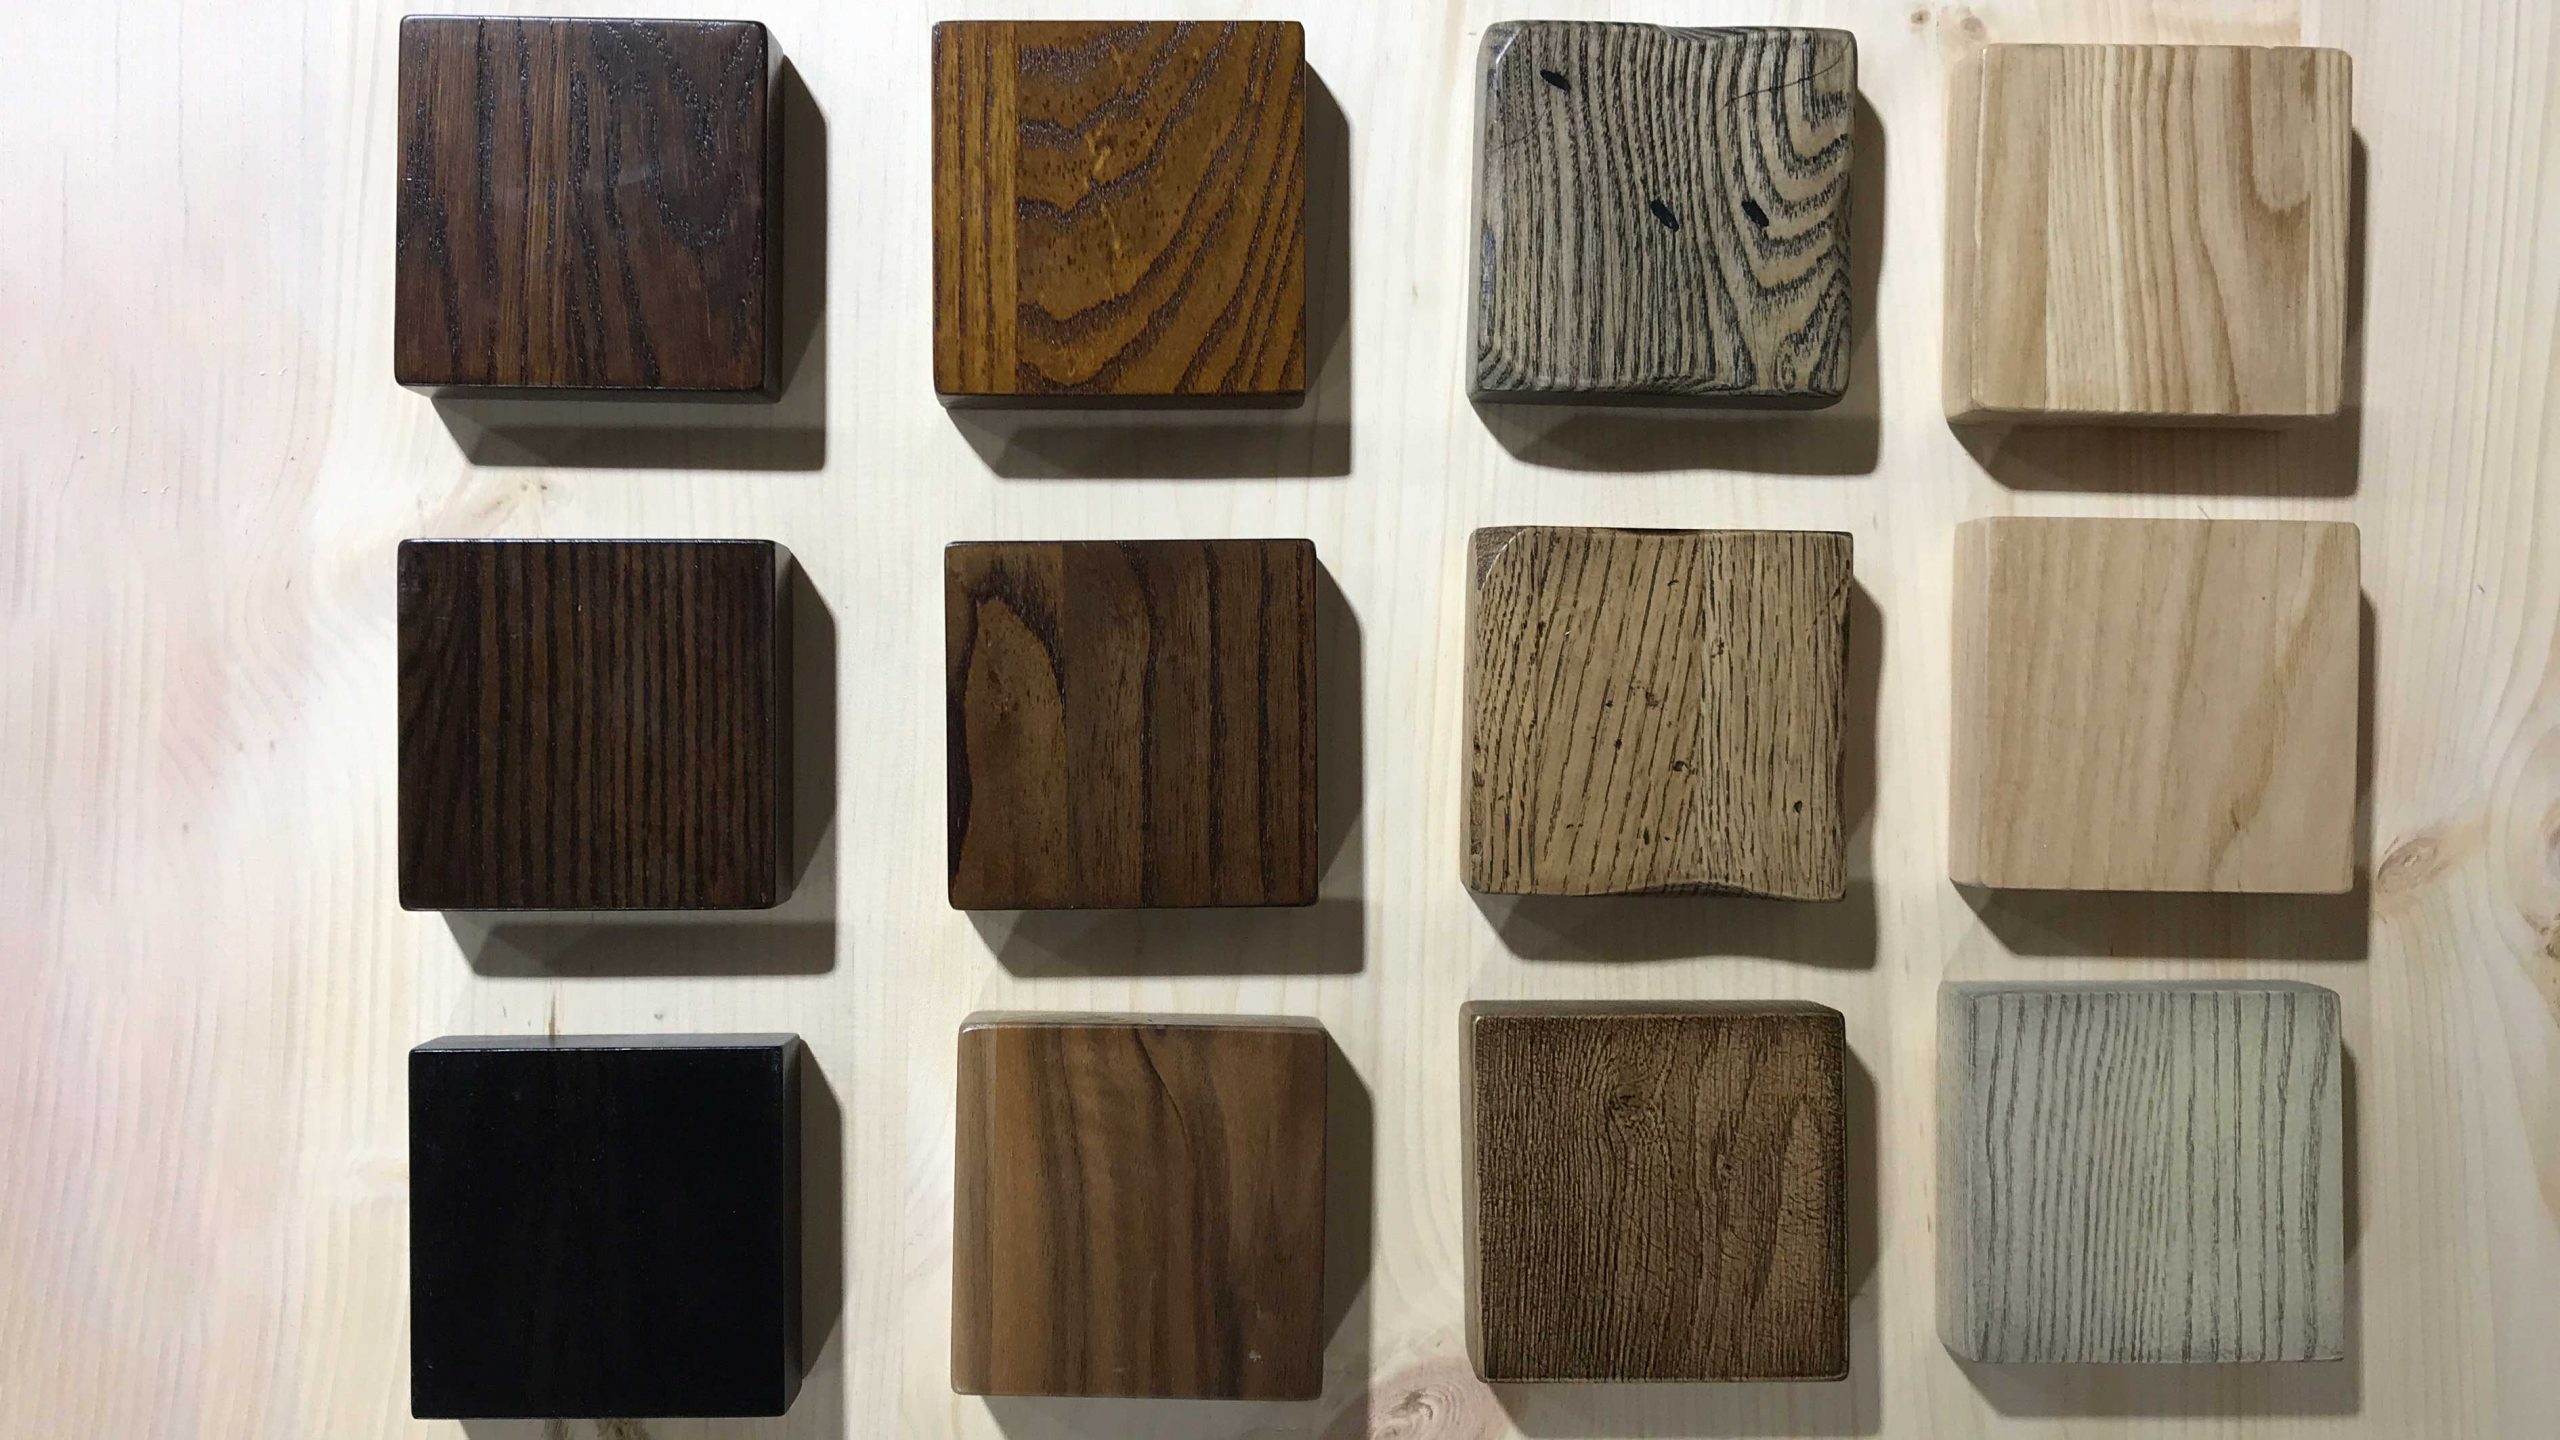
How to Choose the Right Stain for Your Table
Selecting the appropriate stain is vital for achieving the desired look and durability. Consider factors such as the type of wood, the desired color, and the level of protection needed.
Oil-based stains penetrate deeper into the wood, providing richer color and better durability. Water-based stains, on the other hand, dry faster and emit fewer fumes, making them a popular choice for indoor projects.
Research the different types of stains available and consult with experts at your local hardware store to find the best option for your specific table.
Popular Stain Brands
- Minwax
- Rust-Oleum
- Varathane
These brands are known for their quality and wide range of color options, making them excellent choices for staining a table.
Applying the Stain: Step-by-Step Guide
Now that your workspace is ready and your materials are prepared, it's time to apply the stain. Follow these steps for a flawless finish:
- Apply wood conditioner if using an oil-based stain. This helps the stain absorb evenly and prevents blotching.
- Using a brush or foam applicator, apply a thin, even layer of stain to the table. Work in the direction of the wood grain to avoid streaks.
- Allow the stain to sit for the recommended time (usually 5-10 minutes) before wiping off the excess with a clean, lint-free cloth.
- Repeat the process for additional coats if desired, allowing each coat to dry completely before applying the next.
Tips for Application
For best results, work in small sections to ensure even coverage. Avoid applying too much stain at once, as this can lead to drips and unevenness.
Finishing Touches for Long-Lasting Protection
Once the stain has dried, it's time to add a protective finish to your table. Polyurethane is a popular choice for its durability and shine. Apply two to three coats, allowing each coat to dry and lightly sanding between applications with 220-grit sandpaper.
For a more natural look, consider using wax or oil finishes. These options provide protection while maintaining the wood's natural texture.
Choosing the Right Finish
Consider the table's intended use and environment when selecting a finish. High-traffic areas may require a more durable finish, while decorative pieces can benefit from a softer, more natural finish.
Pro Tips for Perfect Results
Here are some expert tips to help you achieve professional-quality results when staining a table:
- Test the stain on a small, inconspicuous area first to ensure the color matches your expectations.
- Work in a dust-free environment to prevent particles from affecting the finish.
- Use high-quality brushes or applicators to avoid bristles or lint in the stain.
- Follow the manufacturer's instructions carefully for the best results.
Maintaining and Caring for Your Stained Table
Proper maintenance is key to preserving the beauty and longevity of your stained table. Avoid placing hot items directly on the surface and use coasters to protect against water damage. Regularly clean the table with a mild soap and water solution, and avoid abrasive cleaners that can damage the finish.
Periodically reapply a protective finish to maintain the table's appearance and protect it from wear and tear.
Signs It's Time to Reapply Finish
- Fading or dulling of the finish
- Scratches or scuffs on the surface
- Water marks or stains
Addressing these issues promptly can extend the life of your table and keep it looking its best.
Frequently Asked Questions About Staining a Table
How long does it take for stain to dry?
Most stains require 24-48 hours to fully dry and cure. Always follow the manufacturer's recommendations for drying times.
Can I stain over an existing finish?
It's generally best to remove the existing finish before applying a new stain. However, some stains can be applied over existing finishes if they are clean and in good condition.
What's the difference between oil-based and water-based stains?
Oil-based stains offer deeper penetration and richer color, while water-based stains dry faster and emit fewer fumes. Your choice depends on your project's specific needs and preferences.
Conclusion: Transform Your Table with Stain
Staining a table is a rewarding project that can significantly enhance the appearance and durability of your furniture. By following the steps outlined in this guide, you can achieve professional-quality results and create a stunning piece that will last for years to come.
We encourage you to share your staining experiences in the comments below and explore other articles on our site for more home improvement tips and tricks. Happy staining!
- Indian Female Average Height
- St John Bosco Schools
- The Silver And Gold Is Mine
- Kob%C3%83 Japanese Steakhouse West 192
- Lake Travis Hs Football
Best Wood Stain For Coffee Table
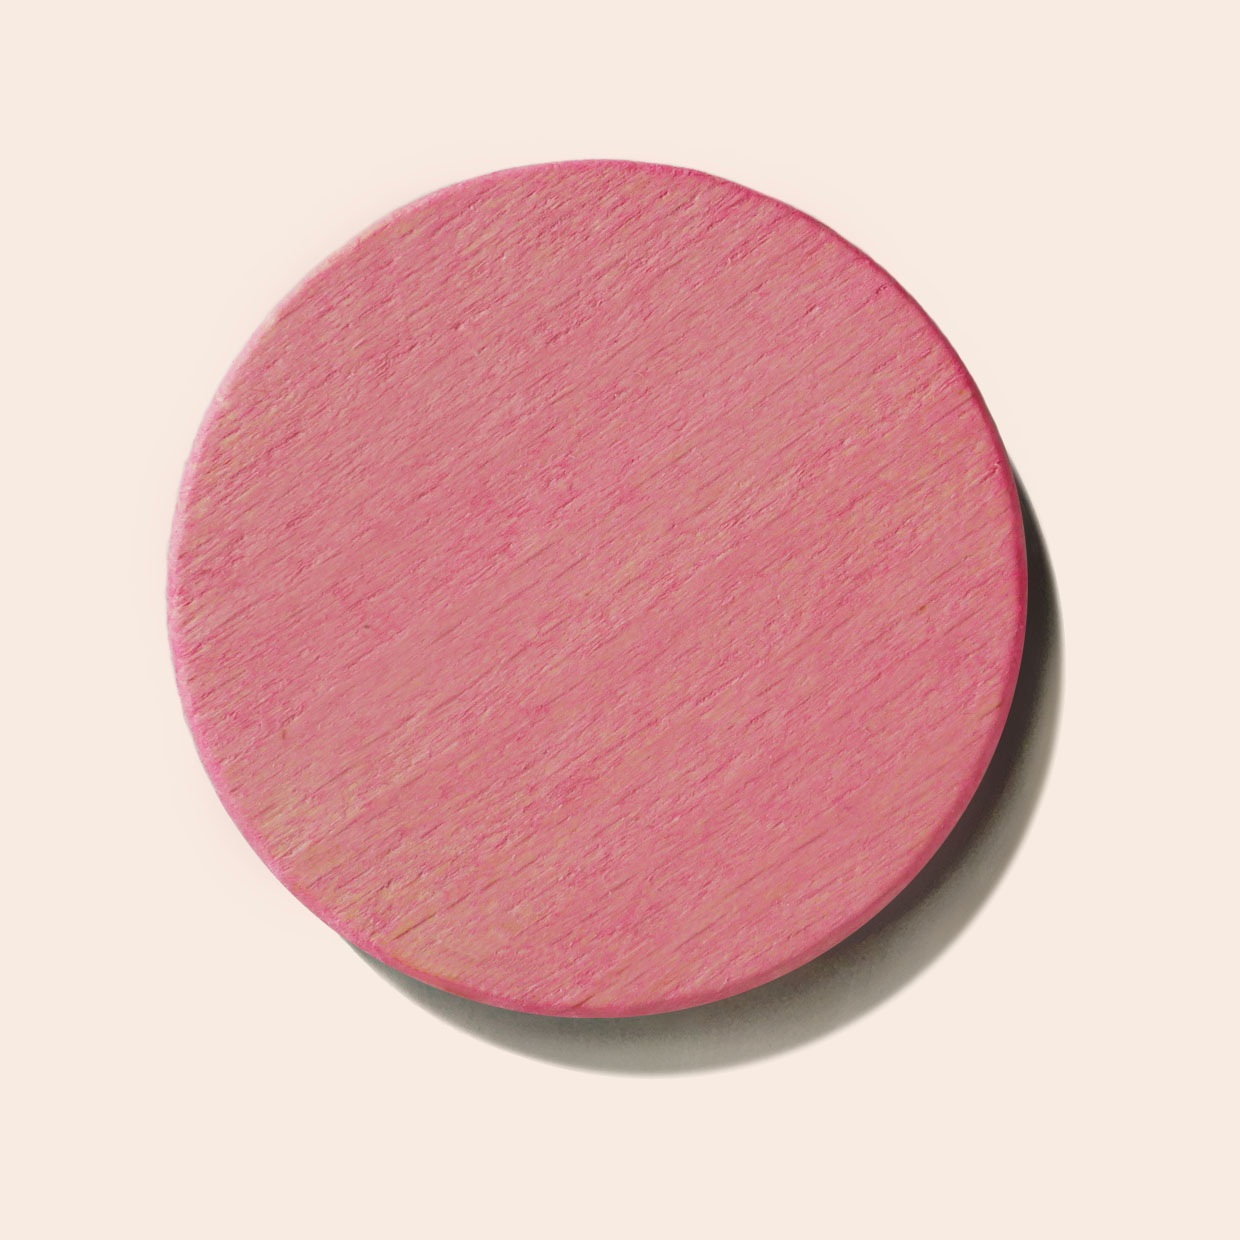
Blush Dye Stain Sloe Wood

Golden Yellow Dye Stain Sloe Wood
