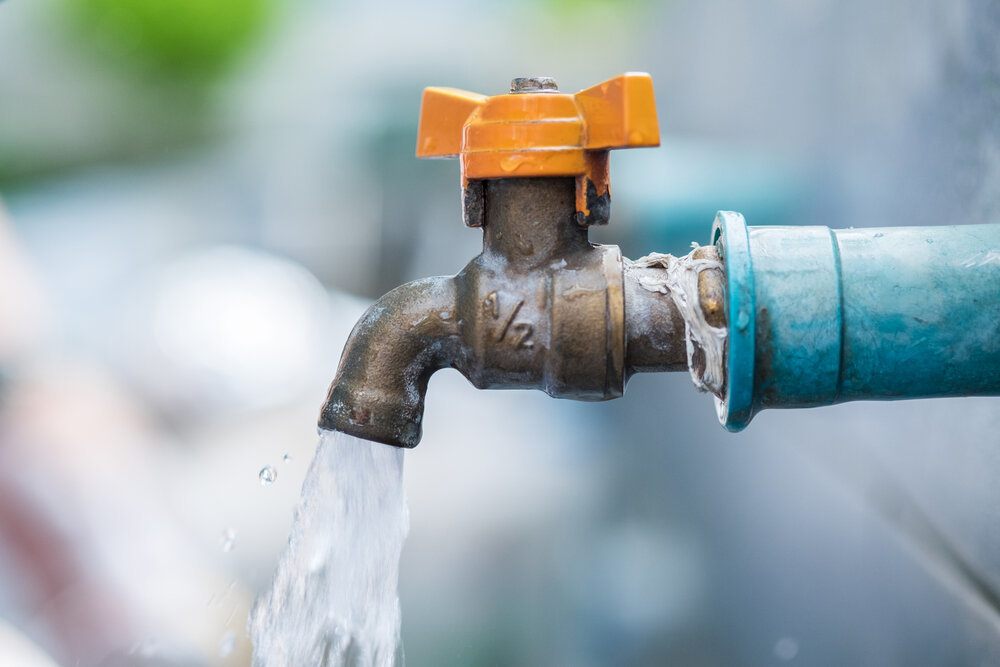
How To Install An Outside Water Spigot: A Comprehensive Guide
Installing an outside water spigot is a practical and cost-effective way to enhance your home's functionality. Whether you're planning to water your garden, wash your car, or provide easy access to water for outdoor activities, a properly installed spigot can make a significant difference. With the right tools and guidance, even beginners can successfully complete this project. This article will guide you step-by-step through the process, ensuring a seamless and efficient installation.
Many homeowners underestimate the importance of having an accessible outdoor water source. An outside water spigot not only adds convenience but also increases the value of your property. However, installing one requires careful planning and adherence to safety standards to avoid potential leaks or damage.
Whether you're a DIY enthusiast or new to home improvement projects, this guide will walk you through everything you need to know about how to install an outside water spigot. From selecting the right materials to executing the installation process, we've got you covered. Let's dive in!
- Rush Hour Go Karts Garner
- The Sebastian Vail Village
- 30 Inch Tv Vizio
- Miranda Lambert Country Music Awards
- St John Bosco Schools
Table of Contents
- Tools and Materials Needed
- Preparation Steps
- Choosing the Right Location
- Shutting Off the Water Supply
- Removing the Old Spigot (If Applicable)
- Installing the New Spigot
- Sealing the Connections
- Testing the System
- Common Issues and Troubleshooting
- Maintenance Tips
Tools and Materials Needed
Before you start the installation process, it's crucial to gather all the necessary tools and materials. Having everything ready will make the process smoother and more efficient.
Tools
- Pipe wrench
- Adjustable wrench
- Teflon tape
- Screwdriver
- Plumber's putty
- Utility knife
- Drill (if needed)
Materials
- New outdoor water spigot
- PVC or copper pipe (depending on your setup)
- Shut-off valve
- PVC primer and cement (if using PVC pipes)
- Frost-proof spigot (optional, but recommended for colder climates)
Ensure that the materials you choose are compatible with your existing plumbing system. For example, if your home uses copper pipes, it's best to stick with copper fittings for a seamless connection.
Preparation Steps
Proper preparation is key to a successful installation. Here are the steps you should follow before diving into the actual installation process:
- Give Me The Number To Cricket Wireless
- What S The Capital Of Monaco
- Jerry Jones And Mike Mccarthy
- Air Force Bases Wyoming
- Indiana Beach Amusement And Water Park
- Inspect your current plumbing setup to determine the best location for the new spigot.
- Check local building codes and regulations regarding outdoor water installations.
- Plan the layout of the pipes and ensure you have enough material to reach the desired location.
- Clear the work area to ensure safety and ease of movement during installation.
By taking the time to prepare adequately, you can avoid common mistakes and ensure a smooth installation process.
Choosing the Right Location
Choosing the right location for your outside water spigot is essential for both functionality and aesthetics. Consider the following factors:
- Accessibility: Ensure the spigot is easily accessible for daily use.
- Proximity to water source: The closer the spigot is to the main water line, the better.
- Weather conditions: If you live in a cold climate, consider installing a frost-proof spigot to prevent freezing.
- Drainage: Ensure proper drainage around the spigot to prevent water pooling and potential damage.
Strategically placing your spigot can enhance its usability and extend its lifespan.
Shutting Off the Water Supply
Before starting any plumbing work, it's crucial to shut off the water supply to prevent accidents and water damage. Follow these steps:
- Locate the main water shut-off valve in your home.
- Turn the valve clockwise to shut off the water supply.
- Open an indoor faucet to release any remaining water pressure in the pipes.
Once the water supply is shut off, you can proceed with the installation process safely.
Removing the Old Spigot (If Applicable)
If you're replacing an existing spigot, you'll need to remove it first. Here's how:
- Use a pipe wrench to loosen and remove the old spigot from the pipe.
- Inspect the pipe for any damage or corrosion. If necessary, repair or replace the pipe.
- Clear any debris or residue from the pipe to ensure a clean connection for the new spigot.
Removing the old spigot carefully will help prevent damage to the surrounding plumbing.
Installing the New Spigot
Now that the old spigot is removed, it's time to install the new one. Follow these steps:
- Apply a layer of plumber's putty around the base of the spigot to create a watertight seal.
- Thread the spigot onto the pipe, ensuring it's securely tightened.
- Wrap the threads with Teflon tape to further seal the connection and prevent leaks.
Take your time during this step to ensure a secure and leak-free installation.
Sealing the Connections
Sealing the connections is crucial to prevent leaks and ensure the longevity of your installation. Here's how to do it:
- Use PVC primer and cement if you're working with PVC pipes.
- Apply a thin layer of plumber's putty around the base of the spigot before attaching it to the pipe.
- Double-check all connections for tightness and proper alignment.
Proper sealing will save you from potential headaches down the road.
Testing the System
After completing the installation, it's essential to test the system to ensure everything is functioning correctly. Follow these steps:
- Turn the water supply back on slowly.
- Inspect all connections for leaks or drips.
- Open the spigot and check the water flow for any issues.
If everything checks out, congratulations! You've successfully installed your outside water spigot.
Common Issues and Troubleshooting
Even with careful installation, issues can arise. Here are some common problems and their solutions:
- Leaking connections: Tighten the connections or reapply Teflon tape.
- Low water pressure: Check for blockages or improperly sized pipes.
- Freezing in winter: Consider installing a frost-proof spigot or insulating the pipes.
Being aware of these potential issues can help you address them quickly and effectively.
Maintenance Tips
To ensure your outside water spigot lasts for years, follow these maintenance tips:
- Turn off the water supply and drain the spigot during winter months to prevent freezing.
- Regularly inspect the spigot for signs of wear or damage.
- Apply a fresh coat of paint or sealant to protect the spigot from weathering.
Regular maintenance will keep your spigot in top condition and ready for use whenever you need it.
Conclusion
Installing an outside water spigot is a rewarding project that can enhance your home's functionality and value. By following the steps outlined in this guide, you can ensure a successful installation with minimal hassle. Remember to prepare thoroughly, choose the right location, and test the system after installation to avoid common issues.
We encourage you to share your experience or ask any questions in the comments below. For more home improvement tips and guides, explore our other articles. Happy DIY-ing!
Data and statistics referenced in this article are based on industry standards and best practices. For further reading, consult trusted sources such as the American Society of Plumbing Engineers (ASPE) and local plumbing codes.
- Hy Vee Online Orders
- Why Is Cvs Charging Me 5 A Month
- South Dakota State Theater
- Where Is The Legacy Museum
- Who Is Moriah Plath S Ex Boyfriend

Outside Water Spigot Repair

Replace or install a frost free spigot PEP BB plumbing.sand.big
2022 Cost to Install Outdoor Water Spigot Cost of Adding an Outdoor
