Expert Guide To Sanding Painted Wood Before Painting
Sanding painted wood before painting is a crucial step in achieving a flawless finish, whether you're working on furniture, walls, or any other wooden surface. Proper preparation can make or break the final result, and sanding plays a vital role in this process. If you're looking to enhance your woodworking skills or improve the quality of your DIY projects, understanding how to sand painted wood correctly is essential.
Many people underestimate the importance of sanding before painting. However, this step ensures that the new paint adheres properly, resulting in a smooth and professional appearance. In this article, we will explore the best practices, tools, and techniques for sanding painted wood effectively.
Whether you're a beginner or an experienced painter, this comprehensive guide will provide valuable insights to help you achieve the best results. Let's dive into the world of sanding painted wood before painting!
- Darlings Auto Bangor Maine
- Houses For Rent Bremerton
- Rush Hour Go Karts Garner
- Hy Vee Online Orders
- El Jefe Taqueria Boston
Table of Contents
- Introduction to Sanding Painted Wood
- Why Sanding Painted Wood Before Painting is Important
- Tools You Need for Sanding Painted Wood
- Preparing the Surface for Sanding
- The Sanding Process Explained
- Types of Sanders for Sanding Painted Wood
- Tips for Effective Sanding
- Common Mistakes to Avoid
- Finishing Touches After Sanding
- Conclusion and Call to Action
Introduction to Sanding Painted Wood
Sanding painted wood before painting is not just about creating a smooth surface; it's about ensuring that the new paint adheres properly to the existing surface. This step is often overlooked, but it can significantly impact the final outcome of your project.
When you sand painted wood, you remove old paint, dirt, and imperfections, which helps the new paint bond better. This process also evens out the surface, making it look more polished and professional. Whether you're working on a small piece of furniture or an entire room, understanding the basics of sanding is essential.
In this section, we will explore the reasons why sanding painted wood is important and how it contributes to the overall quality of your painting job. Let's delve deeper into the specifics of this crucial step.
- Grant Holloway And Chase
- Sporting Goods Bozeman Montana
- Family Care Eye Center
- Gospel Choir Christmas Music
- When Did 3 Point Line Start In College
Why Sanding Painted Wood Before Painting is Important
Enhancing Paint Adhesion
Sanding painted wood before painting improves the adhesion of the new paint. Without proper sanding, the new paint may peel or chip off prematurely, leaving an unappealing finish. By roughening the surface, you create a better grip for the paint, ensuring it lasts longer.
Removing Imperfections
Old paint often has imperfections such as cracks, chips, or unevenness. Sanding helps to smooth out these imperfections, creating a uniform surface for the new paint. This step is especially important if you're working on surfaces that have been exposed to the elements or have undergone wear and tear.
According to a study by the Paint Quality Institute, proper surface preparation, including sanding, can increase the durability of the paint job by up to 30%. This statistic underscores the importance of sanding in achieving long-lasting results.
Tools You Need for Sanding Painted Wood
Having the right tools for the job is crucial when it comes to sanding painted wood. Here's a list of essential tools you'll need:
- Sanding sponges
- Sanding blocks
- Electric sanders (orbital or belt)
- Grit sandpaper (various grits, from 80 to 220)
- Protective gear (gloves, dust mask, goggles)
- Putty knife
- Clean cloths or tack cloths
Investing in quality tools can make the sanding process easier and more efficient. Electric sanders, for example, can save time and effort, especially when dealing with large surfaces.
Preparing the Surface for Sanding
Cleaning the Surface
Before you start sanding, it's important to clean the surface thoroughly. Use a mild detergent and water to remove dirt, grease, and grime. Allow the surface to dry completely before proceeding.
Protecting the Area
Set up a work area by covering the surrounding surfaces with drop cloths or plastic sheets. This will help protect your workspace from dust and debris. Additionally, ensure proper ventilation, especially if you're working indoors.
Preparation is key to a successful sanding job. Taking the time to clean and protect the area will make the process smoother and more efficient.
The Sanding Process Explained
Sanding painted wood involves several steps, each designed to prepare the surface for painting. Here's a step-by-step guide to the sanding process:
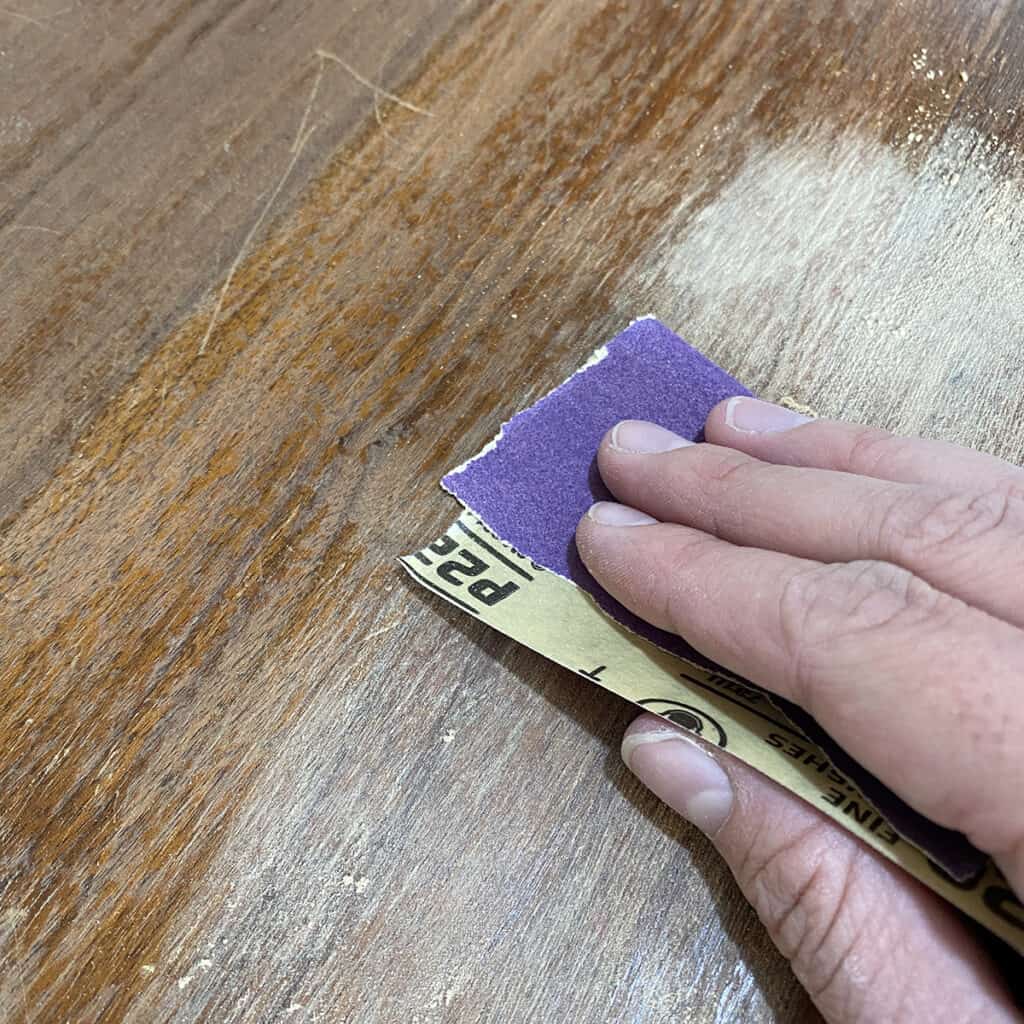
- Start with coarse grit sandpaper: Begin with a lower grit (around 80-100) to remove old paint and imperfections.
- Progress to finer grits: Gradually move to higher grits (120-220) for a smoother finish. This step helps to refine the surface and eliminate any scratches from the coarse sandpaper.
- Wipe down the surface: Use a clean cloth or tack cloth to remove dust and debris after each sanding step. This ensures a clean surface for the next round of sanding.
- Inspect the surface: Once you've finished sanding, inspect the surface for any remaining imperfections. Address these areas as needed.
This methodical approach ensures that the surface is properly prepared for painting, resulting in a professional finish.
Types of Sanders for Sanding Painted Wood
Orbital Sanders
Orbital sanders are ideal for sanding painted wood, especially on flat surfaces. They move in a circular motion, making it easy to achieve a smooth finish. Orbital sanders are available in both electric and pneumatic models.
Belt Sanders
Belt sanders are more aggressive and are best suited for removing large amounts of paint or rough surfaces. They use a continuous loop of sandpaper, making them ideal for heavy-duty sanding tasks.
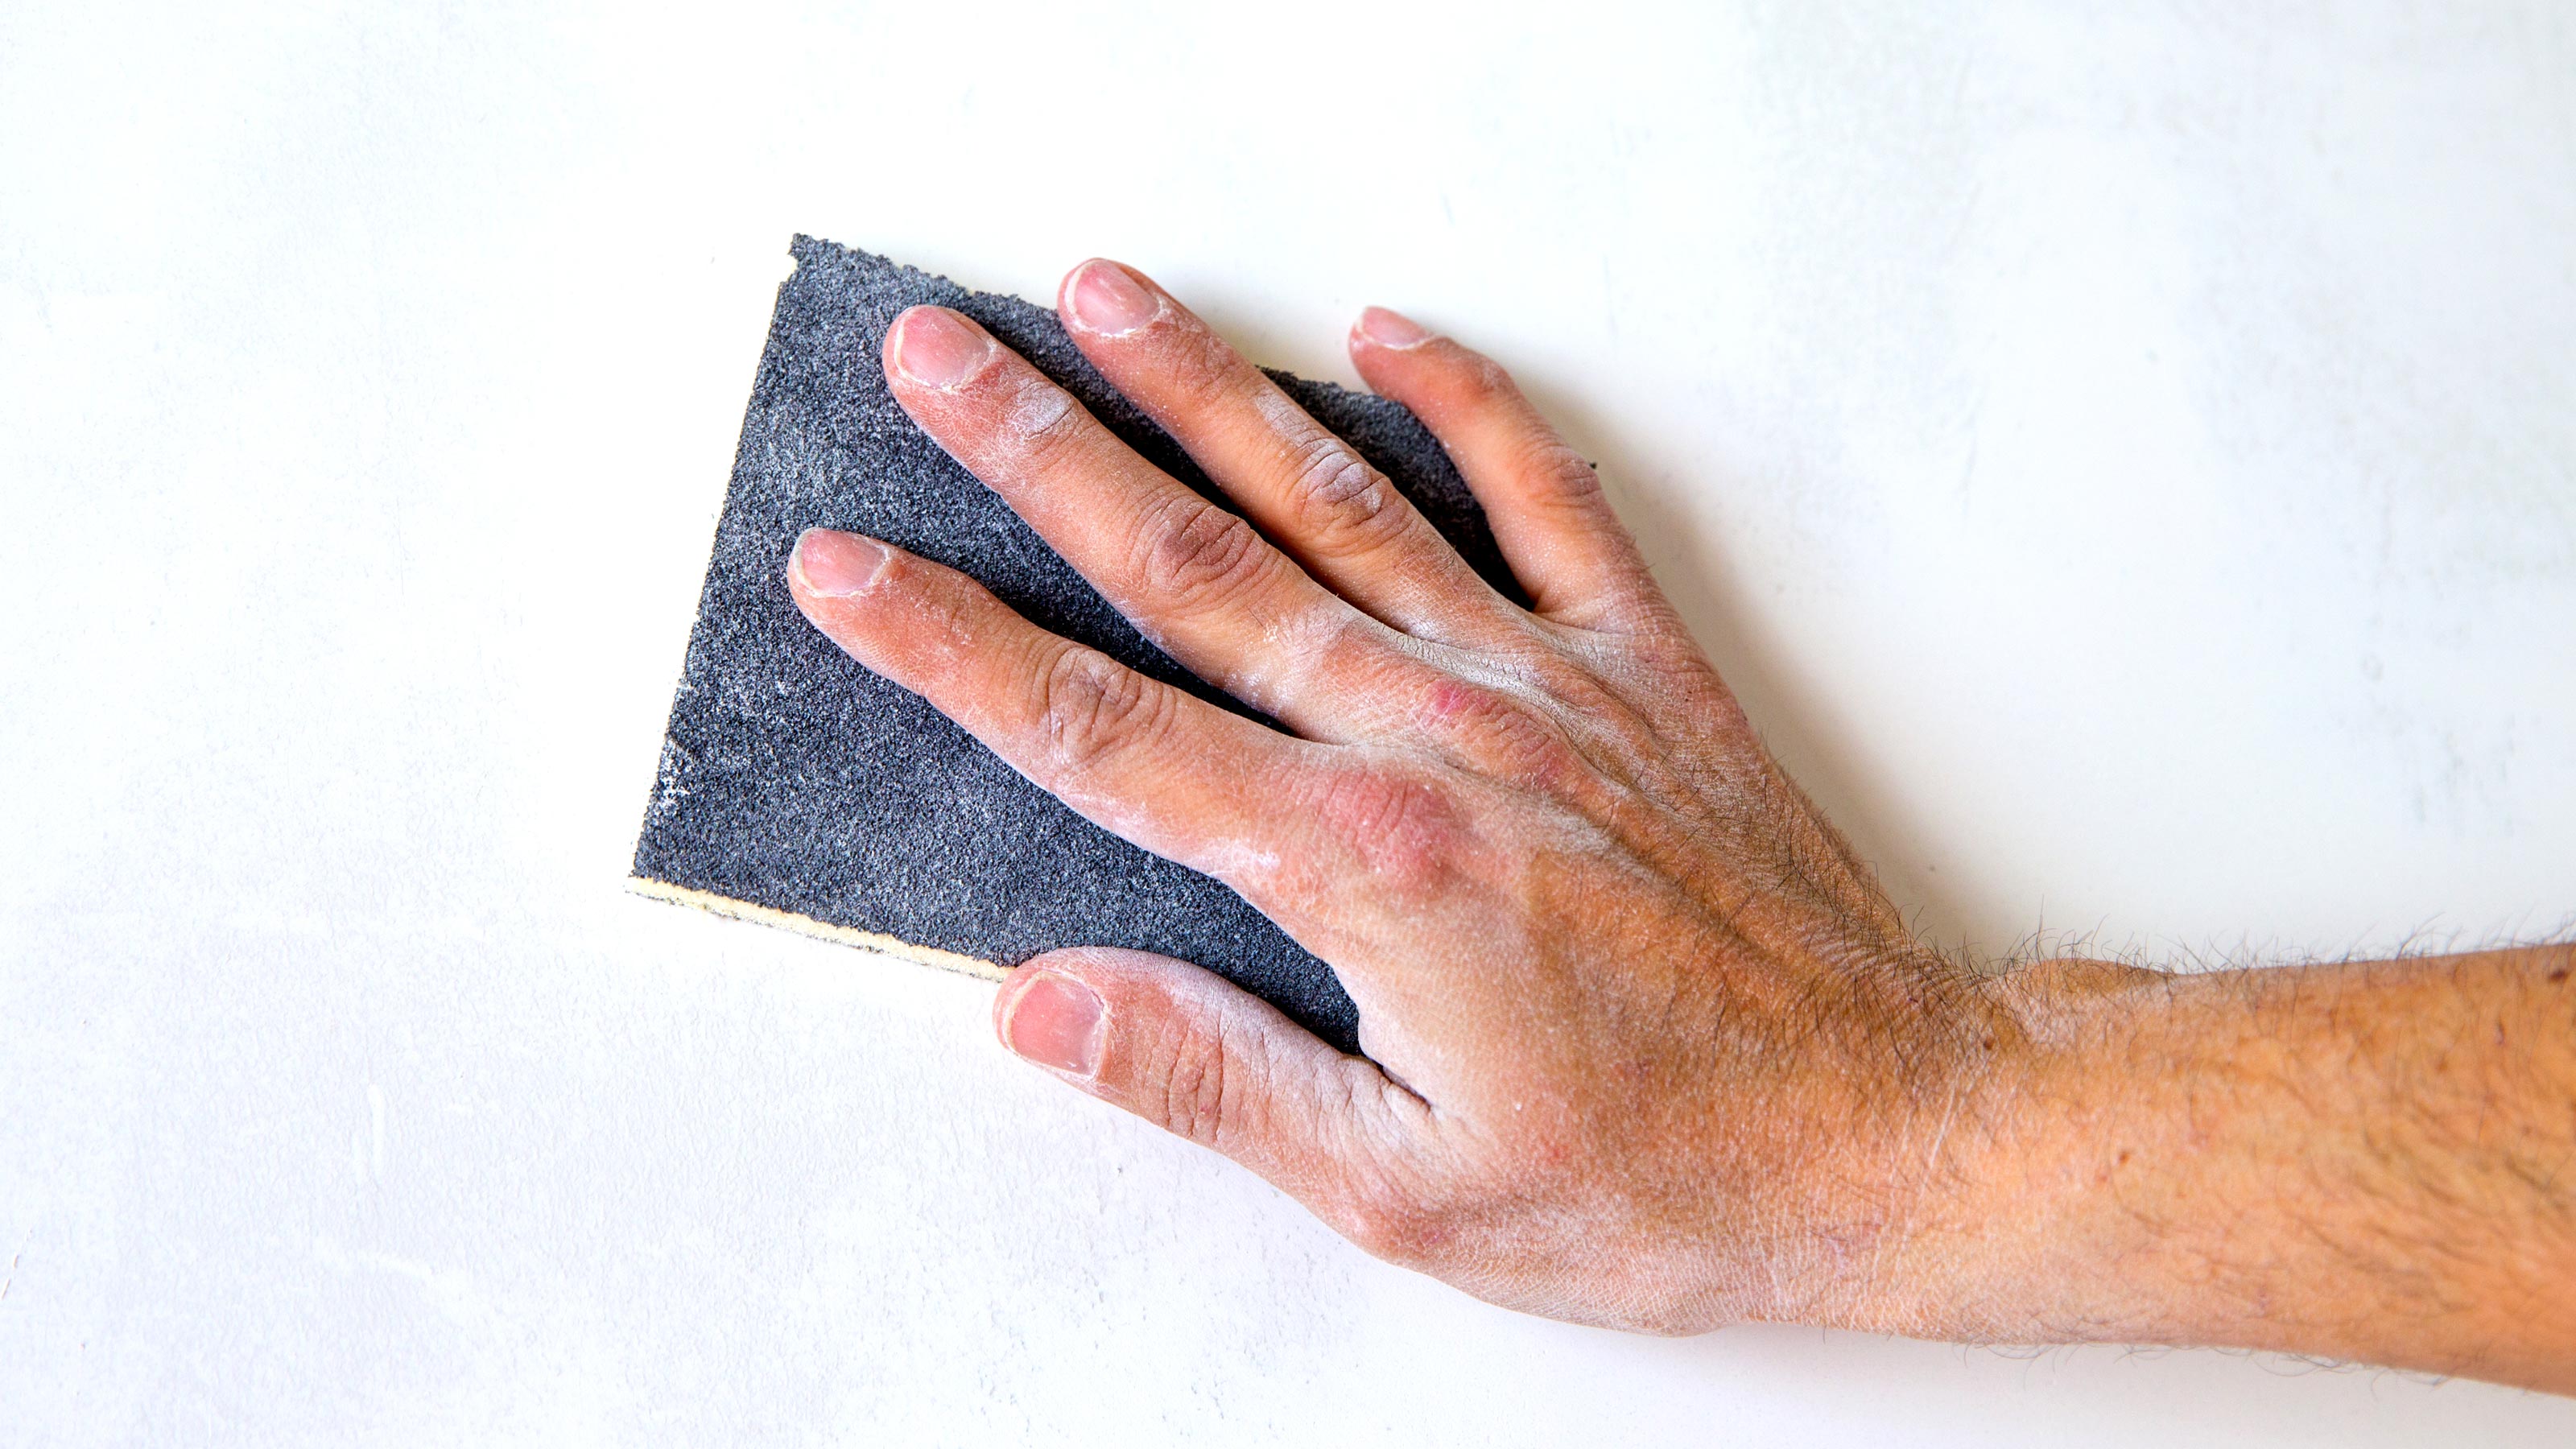
Hand Sanders
For smaller, more intricate areas, hand sanders or sanding blocks are perfect. They provide greater control and precision, allowing you to reach tight spaces and corners.
Choosing the right type of sander depends on the size and complexity of your project. Consider the surface you're working on and select the tool that best suits your needs.
Tips for Effective Sanding
To ensure the best results when sanding painted wood, follow these tips:
- Use the right grit: Start with a coarse grit and gradually move to finer grits for a smooth finish.
- Work in sections: Focus on one area at a time to avoid missing spots or over-sanding.
- Wear protective gear: Sanding can generate a lot of dust, so always wear a dust mask, goggles, and gloves.
- Follow the grain: Sand in the direction of the wood grain to avoid creating unsightly scratches.
These tips will help you achieve a professional finish and make the sanding process more efficient.
Common Mistakes to Avoid
Over-Sanding
One of the most common mistakes when sanding painted wood is over-sanding. This can lead to thin spots or even damage the underlying wood. To avoid this, sand in short bursts and frequently check the surface.
Using the Wrong Grit
Using the wrong grit sandpaper can result in an uneven finish or excessive sanding. Always start with a coarse grit and progress to finer grits for the best results.
By avoiding these common mistakes, you can ensure a smooth and professional finish for your painted wood surfaces.
Finishing Touches After Sanding
Once you've completed the sanding process, it's time to prepare the surface for painting. Here are some final steps to consider:
- Prime the surface: Applying a primer helps the paint adhere better and ensures a uniform finish.
- Test the paint: Before applying the final coat, test the paint on a small area to ensure the desired color and finish.
- Apply multiple coats: For the best results, apply multiple thin coats of paint, allowing each coat to dry thoroughly before applying the next.
These finishing touches will help you achieve a flawless finish and ensure that your painted wood looks its best.
Conclusion and Call to Action
Sanding painted wood before painting is a critical step in achieving a professional and long-lasting finish. By following the steps outlined in this guide, you can ensure that your surfaces are properly prepared for painting. Remember to use the right tools, techniques, and protective gear to make the process easier and more efficient.
We encourage you to share your experiences and tips in the comments section below. Your feedback can help others improve their sanding and painting skills. Additionally, feel free to explore our other articles for more tips and tricks on home improvement and woodworking projects. Happy sanding and painting!
- Pymatuning State Park Spillway
- Smoking Jerky On A Traeger
- Midwest Wine Making Supplies
- Why Did Dr Phil Lose His License To Practice Psychology
- Hotel The Hague Marriott

Sanding is the key to perfectly painted walls. Always sand before
39+ Sanding Walls Before Painting WilleanDarcey
The Importance of Sanding Before Painting Furniture
