How To Remove Stripped Rusted Screw: A Comprehensive Guide
Dealing with a stripped and rusted screw can be a frustrating experience for anyone, whether you're a professional mechanic or a DIY enthusiast. These screws often resist removal due to corrosion and damage to their threading, making them a common headache in various repair projects. However, with the right techniques, tools, and patience, you can successfully remove these stubborn screws without causing further damage to the surrounding material.
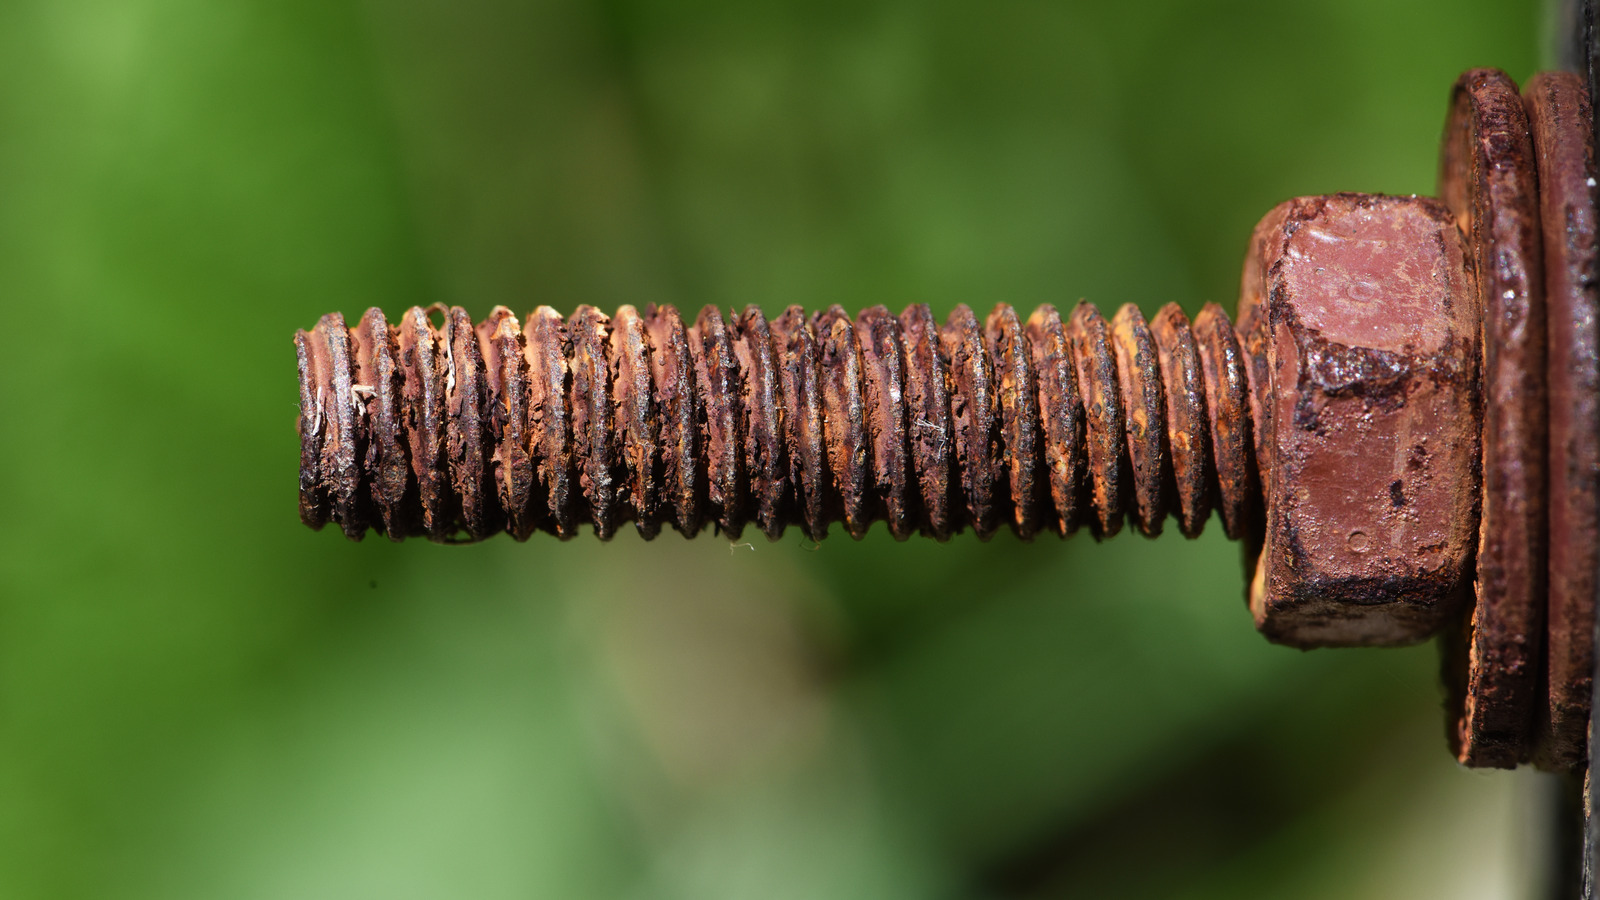
Stripped and rusted screws are not uncommon, especially in older structures or machinery exposed to harsh environmental conditions. Over time, moisture and oxidation lead to rust formation, which weakens the screw's integrity and makes it challenging to remove. This article will provide you with step-by-step instructions and expert tips to tackle this problem effectively.
Our goal is to equip you with the knowledge and confidence to handle such situations, ensuring your projects proceed smoothly. By following the methods outlined here, you'll learn how to remove stripped rusted screws safely and efficiently, saving both time and effort.
- Smoking Jerky On A Traeger
- Westland Shopping Center Photos
- Calgary Stampede Calgary Canada
- Woodinville Department Of Licensing
- Food At Jordan Landing
Table of Contents
- Understanding the Problem
- Tools You Need
- Preparation Before Removal
- Using Penetrating Oil
- Heat Application Techniques
- Alternative Methods
- Tips for Success
- Safety Considerations
- Common Mistakes to Avoid
- Conclusion
Understanding the Problem
Before diving into the solutions, it's essential to understand why screws become stripped and rusted. Rust occurs when iron or steel is exposed to oxygen and moisture over time, leading to oxidation. This process weakens the metal, making it brittle and difficult to manipulate. Stripping happens when the screw head's slots or recesses are damaged due to excessive force or improper tools.
Causes of Stripped and Rusted Screws
- Exposure to moisture and humidity
- Poor-quality materials used in manufacturing
- Over-tightening during installation
- Use of incorrect tools or techniques
Understanding these causes will help you take preventive measures in the future, ensuring your screws remain intact and functional.
Tools You Need
To successfully remove a stripped rusted screw, having the right tools is crucial. Here’s a list of essential items you may need:
- Hilton Garden Inn Nashville Smyrna
- How To Kill A Unicorn Movie
- The Ridge Restaurant The Hotel Belvidere Hawley Photos
- Indian Female Average Height
- Doubletree Hotel International Drive Orlando Fl
- Penetrating oil (e.g., WD-40, PB Blaster)
- Heat source (e.g., blowtorch, heat gun)
- Screw extractor set
- Impact driver
- Drill and drill bits
- Flathead and Phillips screwdrivers
- Vise grip pliers
- Hammer
Each of these tools plays a specific role in the removal process, and their effectiveness depends on the condition of the screw and the surrounding material.
Preparation Before Removal
Proper preparation is key to a successful removal process. Start by assessing the situation:
- Inspect the screw and surrounding area for damage or obstructions.
- Clean the area to remove any debris or dirt that might interfere with the process.
- Ensure you have all necessary tools within reach.
Taking these steps will help streamline the removal process and reduce the risk of further complications.
Using Penetrating Oil
Penetrating oil is one of the most effective methods for loosening rusted screws. It works by breaking down the corrosion between the screw threads and the surrounding material. Here’s how to use it:
- Apply the oil generously around the screw head and threads.
- Allow the oil to penetrate for at least 15-30 minutes, or longer if possible.
- Attempt to turn the screw with a screwdriver or pliers after the waiting period.
If the screw still doesn't budge, repeat the process or consider combining it with other methods.
Heat Application Techniques
Heat can be a powerful ally in breaking the bond between a rusted screw and its surrounding material. Here’s how to apply heat safely:
- Use a blowtorch or heat gun to heat the screw and surrounding area evenly.
- Be cautious not to overheat the material, especially if it’s near flammable substances.
- Allow the heated screw to cool slightly before attempting to remove it.
Heat causes the metal to expand, which can help loosen the screw. Combining heat with penetrating oil often yields the best results.
When to Avoid Heat
Heat should not be used on screws near plastic, rubber, or other heat-sensitive materials. In such cases, alternative methods may be more appropriate.
Alternative Methods
If penetrating oil and heat don’t work, consider these alternative methods:
Using a Screw Extractor
A screw extractor is a specialized tool designed to remove damaged or rusted screws. Here’s how to use it:
- Drill a small pilot hole into the center of the screw head.
- Insert the extractor into the hole and turn it counterclockwise to remove the screw.
Drilling Out the Screw
Drilling out the screw is another option when all else fails. Use a drill bit slightly larger than the screw diameter to carefully remove the material around the screw, allowing you to extract it.
Tips for Success
Here are some additional tips to help you remove stripped rusted screws effectively:
- Use a high-quality screwdriver that fits the screw head perfectly to avoid further stripping.
- Apply steady, even pressure when turning the screw to prevent slipping.
- Consider using a rubber band wrapped around the screw head to improve grip.
These tips, combined with the methods outlined above, will increase your chances of success.
Safety Considerations
Safety should always be a priority when working with tools and materials. Follow these guidelines:
- Wear protective gloves and eyewear to prevent injury.
- Ensure your workspace is well-lit and free of clutter.
- Keep flammable materials away when using heat sources.
Taking these precautions will protect you and those around you during the removal process.
Common Mistakes to Avoid
Here are some common mistakes to avoid when removing stripped rusted screws:
- Using excessive force, which can worsen the damage.
- Choosing the wrong tool for the job, leading to inefficiency.
- Skipping the preparation steps, increasing the likelihood of failure.
By being aware of these pitfalls, you can avoid them and achieve better results.
Conclusion
Removing a stripped rusted screw doesn’t have to be a daunting task. By following the methods and tips outlined in this article, you can successfully tackle this challenge with confidence. Remember to prepare thoroughly, use the right tools, and prioritize safety throughout the process.
We encourage you to share your experiences and tips in the comments section below. Your feedback helps others facing similar challenges. Additionally, feel free to explore our other articles for more DIY advice and solutions. Together, let’s make every repair project a success!
- It Ends With Us Showtimes Near Viking 3
- Where To Get A Husky Dog
- Rehoboth Beach Delaware County
- Give Me The Number To Cricket Wireless
- Green Beans And Dogs

How to Remove a Rusted Screw With a Stripped Head AZ Rust
How To Remove A Rusted Screw To Prevent Breakage

4pcs Screw Extractor Drill Set Broken Rusted Stripped Damaged Screw
