Master The Art Of Painting With A Textured Roller For Stunning Wall Finishes
Painting with a textured roller has become increasingly popular among homeowners and professional painters alike. It offers an efficient way to achieve a variety of textures and finishes on walls and ceilings. Whether you're looking to add depth, character, or a unique aesthetic to your space, using a textured roller can transform any room into a work of art.
In recent years, the demand for textured finishes has grown significantly, with more people recognizing the potential of textured rollers to enhance interior design. This method not only saves time compared to traditional techniques but also provides consistent results that are hard to achieve manually.
This comprehensive guide will take you through everything you need to know about painting with a textured roller. From selecting the right tools and materials to mastering advanced techniques, we'll cover it all. Let's dive in and unlock the secrets of creating beautiful, textured walls!
- Jerry Jones And Mike Mccarthy
- Sporting Goods Bozeman Montana
- Shoe Stores At University Park Mall
- Kebek 3 Old Orchard Beach Maine
- Stores In Fashion Island
Table of Contents
- Introduction to Textured Rollers
- Benefits of Using Textured Rollers
- Types of Textured Rollers
- Preparation Tips for Textured Roller Painting
- Step-by-Step Guide to Painting with a Textured Roller
- Choosing the Right Paint for Textured Roller Projects
- Common Mistakes to Avoid
- Advanced Techniques for Stunning Effects
- Maintenance and Care of Textured Rollers
- Frequently Asked Questions
Introduction to Textured Rollers
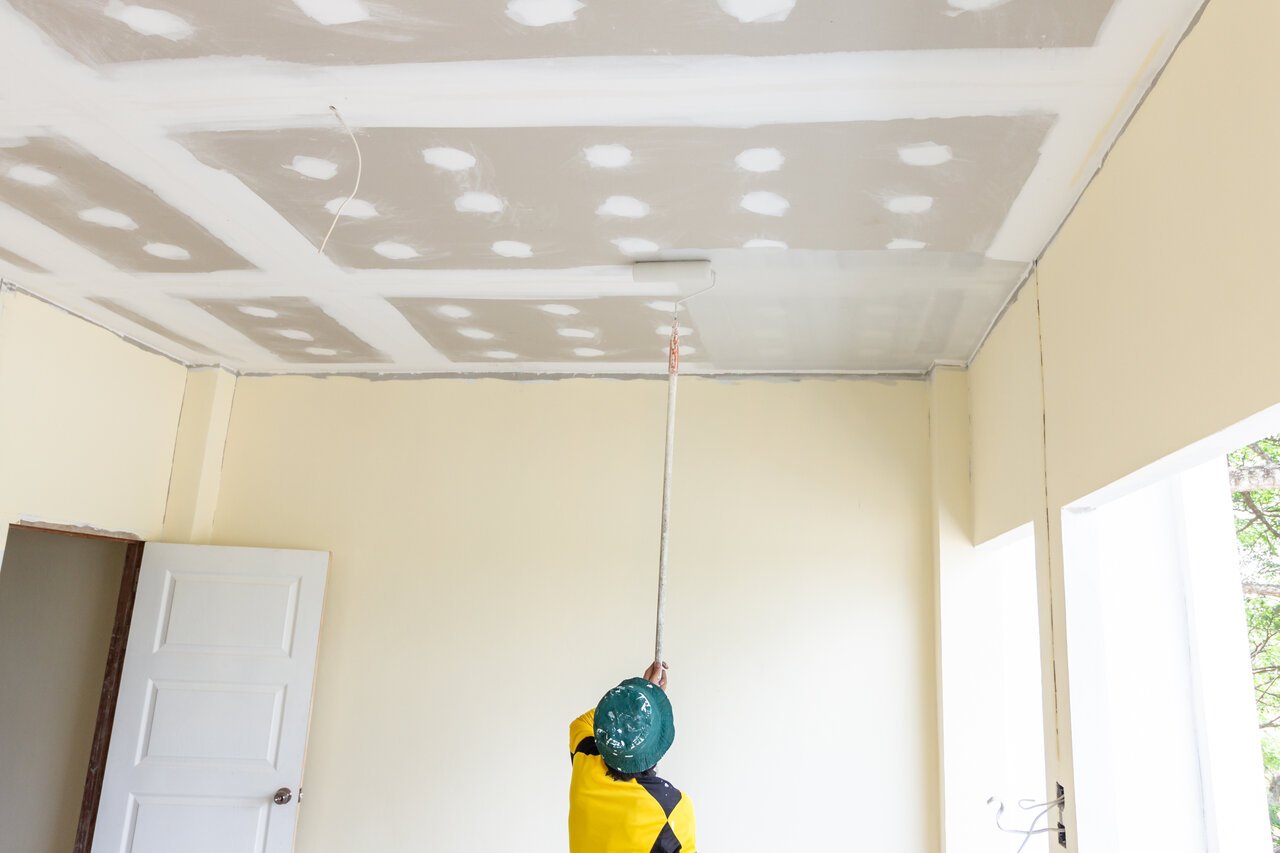
Textured rollers are specialized painting tools designed to create various surface textures on walls, ceilings, and other surfaces. Unlike regular paint rollers, these rollers feature unique nap materials or patterns that leave distinct imprints on the painted surface.
Painting with a textured roller is ideal for those who want to add visual interest and dimension to their spaces. The technique is versatile, allowing for everything from subtle patterns to bold, dramatic designs. Professionals and DIY enthusiasts alike appreciate the ease of use and the professional finish these rollers provide.
Why Choose Textured Rollers?
When compared to other methods of texturing walls, textured rollers stand out due to their efficiency and cost-effectiveness. They are easy to handle, produce uniform results, and can be reused multiple times with proper care. Whether you're working on a small accent wall or an entire room, textured rollers offer unmatched versatility.
- Gospel Choir Christmas Music
- The Sebastian Vail Village
- South Dakota State Theater
- Words Don T Come Easy Lyrics
- Indian Female Average Height
Benefits of Using Textured Rollers
Painting with a textured roller comes with numerous advantages that make it a preferred choice for many. Here are some key benefits:
- Efficiency: Textured rollers cover larger areas quickly compared to brushes or stencils.
- Versatility: They can create a wide range of textures, from smooth to heavily patterned surfaces.
- Professional Results: Even beginners can achieve a polished, professional look with minimal effort.
- Cost-Effective: Textured rollers are affordable and durable, making them a great investment for long-term use.
These benefits make textured rollers an excellent option for both residential and commercial painting projects.
Types of Textured Rollers
Not all textured rollers are created equal. Depending on the desired texture and surface type, you may need to choose from different varieties:
Nap Thickness
The nap thickness of a roller determines the amount of texture it can create. Common options include:
- Short nap (3/16" to 1/4") for smooth surfaces.
- Medium nap (3/8" to 1/2") for moderately textured walls.
- Long nap (3/4" or more) for rough or heavily textured surfaces.
Material Variations
Textured rollers are made from various materials, each suited to specific applications:
- Foam rollers for sleek, modern finishes.
- Lamb's wool rollers for superior paint absorption and release.
- Microfiber rollers for fine textures and smooth results.
Selecting the right type of textured roller depends on the project requirements and the type of paint being used.
Preparation Tips for Textured Roller Painting
Proper preparation is essential for achieving the best results when painting with a textured roller. Follow these tips to ensure a smooth and successful project:
- Clean and sand the surface to remove any dirt, grease, or imperfections.
- Apply a primer if the surface is porous or previously painted with a different color.
- Protect floors and furniture with drop cloths or painter's tape to avoid accidental spills.
Spending extra time on preparation will save you effort and frustration during the painting process.
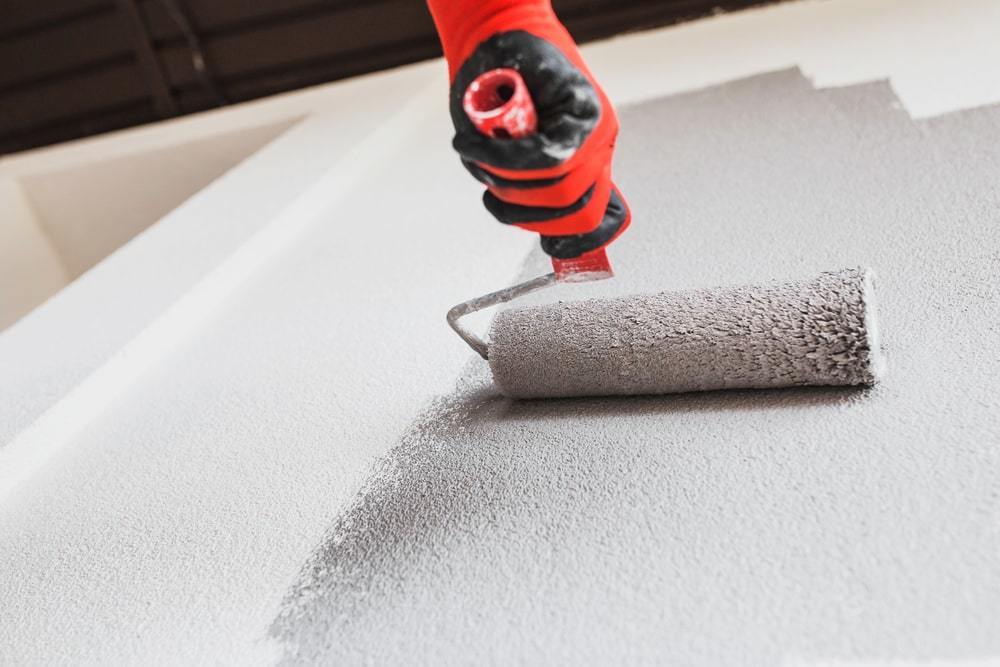
Step-by-Step Guide to Painting with a Textured Roller
Now that you're prepared, let's dive into the step-by-step process of painting with a textured roller:
Step 1: Choose the Right Roller
Select a textured roller that matches the texture and surface type you're working with. Consider the nap thickness and material as discussed earlier.
Step 2: Load the Roller
Dip the roller into the paint tray, ensuring it's evenly coated but not overly saturated. Roll it back and forth on the ridges of the tray to remove excess paint.
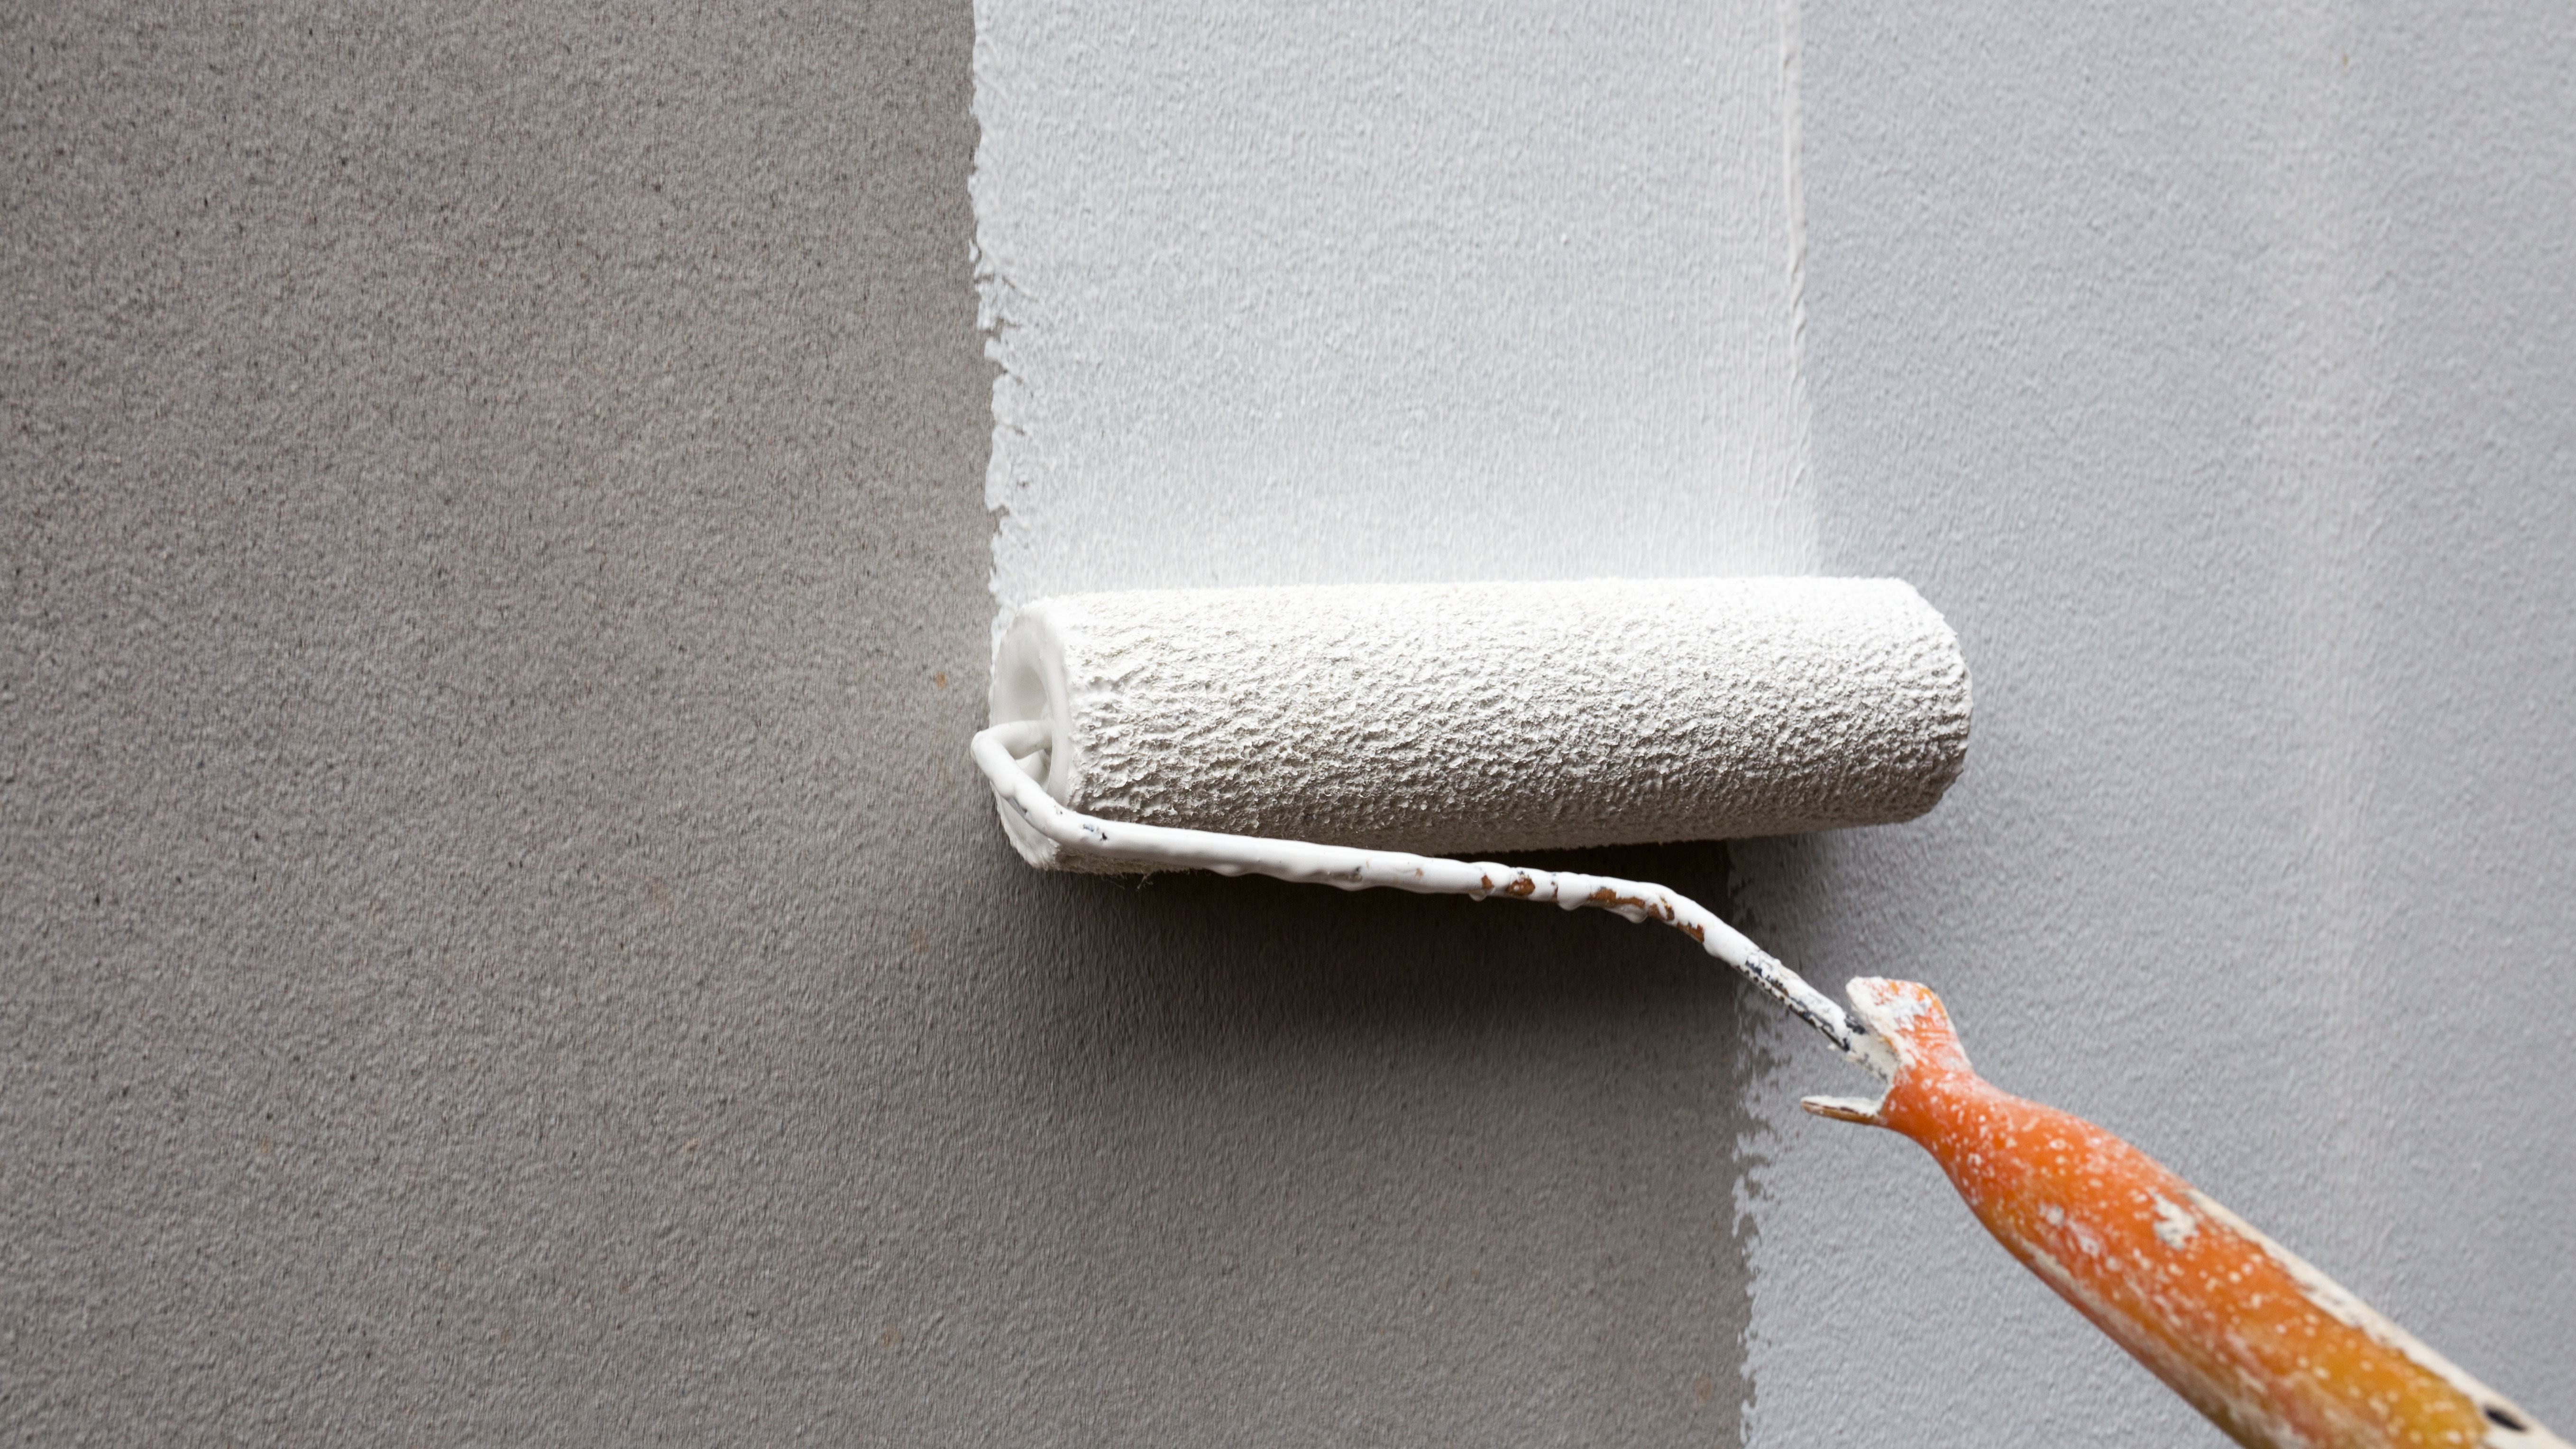
Step 3: Apply the Paint
Begin painting in small sections, using a "W" or "M" pattern to ensure even coverage. Work systematically across the surface to maintain consistency.
Step 4: Create the Desired Texture
Experiment with different rolling techniques to achieve the texture you want. For example, rolling in straight lines creates a linear pattern, while circular motions produce a stippled effect.
Step 5: Allow Proper Drying Time
Let the paint dry completely before adding additional coats or touching up any areas. Refer to the paint manufacturer's recommendations for drying times.
Choosing the Right Paint for Textured Roller Projects
The type of paint you use plays a crucial role in the final outcome of your textured roller project. Consider the following factors when selecting paint:
Paint Finish
Choose a paint finish that complements the texture you're creating:
- Flat or matte finishes for a subtle, non-reflective look.
- Satin finishes for a slight sheen and added durability.
- Gloss finishes for bold, reflective textures.
Paint Type
Ensure the paint is compatible with the surface you're painting. For example, use latex paint for interior walls and enamel paint for trim and furniture.
Quality paint will adhere better and produce more vibrant colors, enhancing the overall appearance of your textured walls.
Common Mistakes to Avoid
Even experienced painters can make mistakes when using textured rollers. Here are some common errors to watch out for:
- Using too much paint, which can lead to drips and uneven textures.
- Not cleaning the roller properly between uses, causing buildup and poor performance.
- Rushing the drying process, resulting in smudging or uneven finishes.
Being aware of these pitfalls will help you avoid them and achieve the best possible results.
Advanced Techniques for Stunning Effects
Once you've mastered the basics of painting with a textured roller, you can explore advanced techniques to take your projects to the next level:
Ombre Effects
Create a gradient effect by gradually transitioning between two or more colors using a textured roller.
Layering Textures
Apply multiple layers of paint with different textured rollers to build depth and complexity in your design.
Combining Tools
Pair your textured roller with other tools like brushes or sponges to add intricate details and patterns to your walls.
These techniques require practice and patience but can yield breathtaking results when executed correctly.
Maintenance and Care of Textured Rollers
Proper maintenance of your textured rollers will extend their lifespan and ensure consistent performance:
- Clean the roller thoroughly after each use with warm water and mild detergent.
- Store rollers in a cool, dry place to prevent damage or warping.
- Replace rollers as needed to maintain optimal quality and texture.
Investing time in maintenance will save you money in the long run and guarantee professional results every time.
Frequently Asked Questions
Q: Can I use a textured roller on all types of surfaces?
A: While textured rollers work well on most surfaces, it's important to choose the right roller nap and material for the specific surface you're painting. Always test on a small area first.
Q: How do I prevent roller marks when painting with a textured roller?
A: Avoid roller marks by applying even pressure and overlapping strokes slightly as you paint. Work in small sections to maintain consistency.
Q: How often should I replace my textured roller?
A: Replace your textured roller when it shows signs of wear, such as frayed nap or poor paint pickup. Regular cleaning and care can extend its lifespan significantly.
Conclusion
Painting with a textured roller offers endless possibilities for enhancing the aesthetic appeal of your space. From selecting the right tools and materials to mastering advanced techniques, this guide has equipped you with the knowledge to achieve stunning results. Remember to prepare thoroughly, experiment with different textures, and maintain your equipment for long-lasting performance.
We invite you to share your experiences and tips in the comments section below. Feel free to explore our other articles for more inspiration and guidance on home improvement projects. Happy painting!
- Hy Vee Online Orders
- Doubletree Hotel International Drive Orlando Fl
- Where Can I Buy Used Musical Instruments
- Where Is The Legacy Museum
- It Ends With Us Showtimes Near Viking 3
Best Roller For Painting Textured Ceilings Taraba Home Review
Best Roller For Painting Textured Ceilings Taraba Home Review
Best Roller To Paint Textured Ceiling Shelly Lighting
