How To Add Dropdowns In Excel: A Comprehensive Guide
Excel is one of the most powerful tools for organizing and analyzing data, and adding dropdowns is an excellent way to enhance data entry accuracy and streamline workflows. Dropdown lists in Excel provide users with predefined options, reducing the chances of errors and saving time. Whether you're managing a small business or working on complex spreadsheets, learning how to add dropdowns in Excel is an essential skill that can significantly improve your productivity.
Dropdown lists are particularly useful for tasks such as creating forms, surveys, or databases where consistency and accuracy are crucial. This guide will walk you through the process of adding dropdowns in Excel step-by-step, ensuring you master this valuable feature. By the end of this article, you'll be equipped with the knowledge to implement dropdowns in your spreadsheets effectively.
We’ll cover everything from basic techniques to advanced tips, ensuring that users of all skill levels can benefit from this tutorial. So, let’s dive in and explore how to add dropdowns in Excel!
- Courtyard St Charles Il
- Food At Jordan Landing
- Dupage Dodge Jeep Chrysler Ram
- Jt Orthodontics El Paso Tx
- Shoe Stores At University Park Mall
Table of Contents
- Understanding Dropdowns in Excel
- Setting Up Your Excel Workbook
- Basic Steps to Add a Dropdown
- Using Data Validation for Dropdowns
- Creating Custom Dropdown Lists
- Dynamic Dropdowns Using Formulas
- Conditional Dropdowns
- Adding Multiple Dropdowns
- Troubleshooting Common Issues
- Best Practices for Dropdowns in Excel
- Conclusion and Next Steps
Understanding Dropdowns in Excel
Before we dive into the technical aspects, it’s important to understand what dropdowns are and why they are so valuable in Excel. Dropdowns, also known as data validation lists, allow users to select from a predefined set of options within a cell. This feature ensures data consistency and reduces manual input errors.
Dropdowns are particularly useful in scenarios such as:
- Data entry forms
- Survey questionnaires
- Inventory management systems
- Project management templates
Incorporating dropdowns into your Excel sheets not only improves data quality but also enhances the user experience by making the process more intuitive.
- Sleep In Rehoboth Beach
- Hy Vee Online Orders
- Sexiest Just For Laughs Gags
- Indiana Beach Amusement And Water Park
- Air Force Bases Wyoming
Setting Up Your Excel Workbook
Before adding dropdowns, it’s essential to organize your workbook properly. Start by creating a new Excel file or opening an existing one where you plan to implement dropdowns. Ensure that your data is well-structured, with clear column headers and rows.
Preparing Your Source Data
To create a dropdown list, you need a source of data that will populate the dropdown options. This can be a simple list of items in a column or a range of cells. Here’s how to prepare your source data:
- Open a new sheet or designate a section of your workbook for the source data.
- Enter the options you want to include in the dropdown list into a single column.
- Ensure there are no duplicate entries or blank cells within the range.
Basic Steps to Add a Dropdown
Adding a dropdown in Excel is a straightforward process. Follow these steps to create your first dropdown:
Step 1: Select the Target Cell
Choose the cell or range of cells where you want the dropdown to appear.
Step 2: Open Data Validation
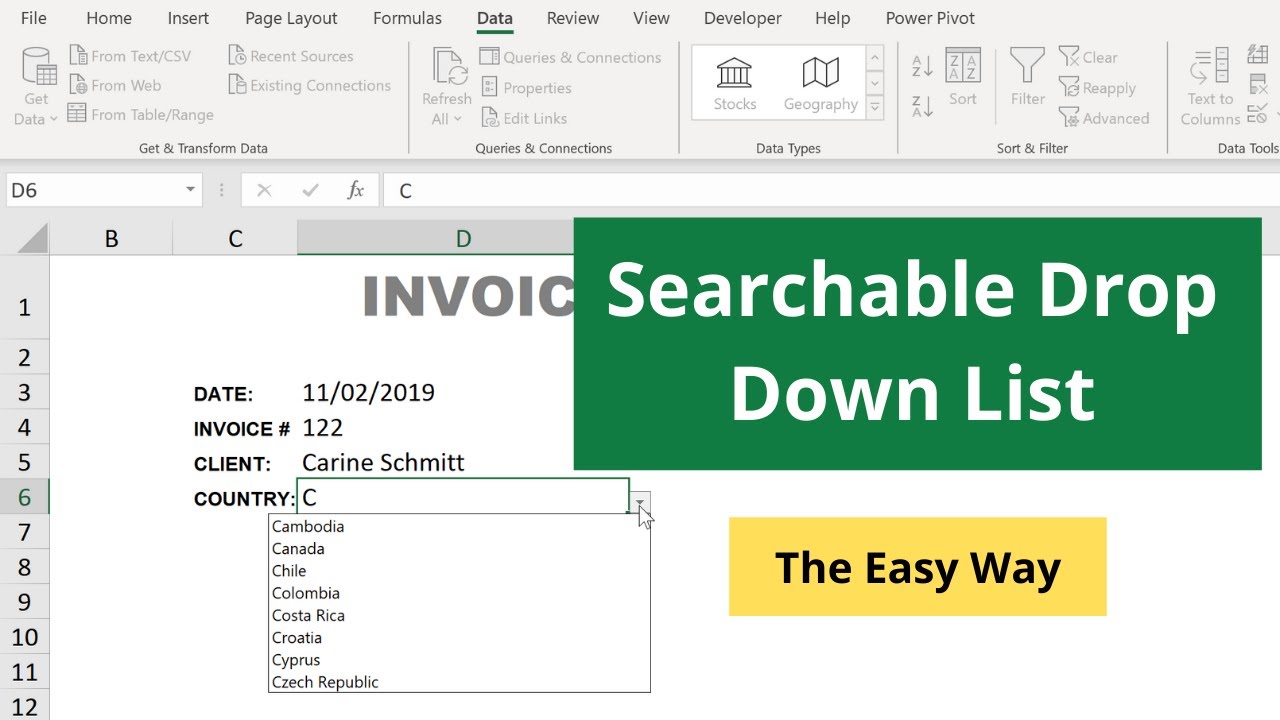
Navigate to the "Data" tab in the ribbon and click on "Data Validation." This will open the Data Validation dialog box.
Step 3: Configure the Settings
In the Data Validation dialog box:
- Select "List" from the "Allow" dropdown menu.
- In the "Source" field, enter the range of cells containing your dropdown options or type the options directly, separated by commas.
- Check the "In-cell dropdown" option to display the dropdown arrow in the cell.
Click "OK" to apply the settings.
Using Data Validation for Dropdowns
Data validation is the core feature used to create dropdowns in Excel. By configuring data validation settings, you can control how users interact with your spreadsheet and ensure data integrity.
Key Features of Data Validation
Data validation offers several useful features:
- Input Message: Display a message when a user selects the cell to provide instructions.
- Error Alert: Show an error message if a user enters invalid data.
- Range Restrictions: Limit the type of data that can be entered, such as dates, numbers, or text.
These features enhance the functionality and usability of your dropdowns.
Creating Custom Dropdown Lists
Custom dropdown lists allow you to tailor the options to your specific needs. You can create these lists using a variety of methods:
Method 1: Using a Named Range
Named ranges make it easier to manage and reference your dropdown source data. Here’s how to create a named range:
- Select the range of cells containing your dropdown options.
- Go to the "Formulas" tab and click "Define Name."
- Enter a name for your range and click "OK."
Now, you can use this named range as the source for your dropdown.
Method 2: Typing Options Directly
If you have a small number of options, you can type them directly into the "Source" field in the Data Validation dialog box, separated by commas.
Dynamic Dropdowns Using Formulas
Dynamic dropdowns update automatically based on changes in the source data. This is particularly useful for large datasets or frequently updated spreadsheets.
Using INDIRECT Function
The INDIRECT function allows you to create dynamic dropdowns by referencing a named range. Here’s how:
- Create a named range for your source data.
- In the Data Validation dialog box, enter the named range preceded by the INDIRECT function in the "Source" field.
This setup ensures that your dropdown options update dynamically as the source data changes.
Conditional Dropdowns
Conditional dropdowns display different options based on the value selected in another cell. This feature is ideal for complex forms or surveys where options depend on previous selections.
Using VLOOKUP or INDEX-MATCH
By combining data validation with functions like VLOOKUP or INDEX-MATCH, you can create conditional dropdowns. For example:
- Create a table with conditional options.
- Use VLOOKUP or INDEX-MATCH to reference the appropriate options based on the selected value.
This approach adds a layer of interactivity to your spreadsheets.
Adding Multiple Dropdowns
Adding multiple dropdowns in Excel is as simple as repeating the process for each cell or range. However, it’s important to organize your source data efficiently to avoid confusion.
Tips for Managing Multiple Dropdowns
- Use separate sheets or sections for each dropdown’s source data.
- Label your source data clearly to avoid mistakes.
- Consider using named ranges to simplify management.
With proper planning, you can create a spreadsheet with multiple dropdowns that functions seamlessly.
Troubleshooting Common Issues
Even with careful setup, issues can arise when working with dropdowns in Excel. Here are some common problems and their solutions:
Issue 1: Dropdown Not Appearing
Solution: Ensure that the "In-cell dropdown" option is checked in the Data Validation dialog box.
Issue 2: Invalid Data Entry
Solution: Configure the error alert settings in Data Validation to notify users of invalid entries.
Issue 3: Dynamic Dropdowns Not Updating
Solution: Verify that the INDIRECT function is correctly referencing the named range.
By addressing these issues promptly, you can ensure a smooth experience for users interacting with your dropdowns.
Best Practices for Dropdowns in Excel
To maximize the effectiveness of dropdowns in Excel, follow these best practices:
- Keep your source data organized and up-to-date.
- Use named ranges for easier management and reference.
- Test your dropdowns thoroughly to ensure they function as intended.
- Provide clear instructions or input messages to guide users.
- Limit the number of options in each dropdown to avoid overwhelming users.
Implementing these practices will enhance the usability and reliability of your dropdowns.
Conclusion and Next Steps
In conclusion, adding dropdowns in Excel is a powerful way to improve data entry accuracy and streamline workflows. By following the steps outlined in this guide, you can create effective dropdowns tailored to your specific needs. Whether you’re working with basic dropdowns or advanced dynamic lists, Excel provides the tools to make your spreadsheets more efficient and user-friendly.
We encourage you to practice these techniques and explore additional features in Excel to further enhance your skills. Don’t forget to share this article with colleagues or friends who may benefit from it, and feel free to leave a comment below if you have any questions or feedback. Happy Excel-ing!
- St John Bosco Schools
- Darlings Auto Bangor Maine
- Kebek 3 Old Orchard Beach Maine
- 30 Inch Tv Vizio
- Where Can I Buy Used Musical Instruments

Dynamic dropdowns in excel Блог о рисовании и уроках фотошопа

Creating & Adding Dropdowns In Blogger The SITS Girls
Add drop down in excel limfabeats
