How To Install A Bathroom Ventilation Fan: A Comprehensive Guide
Installing a bathroom ventilation fan is an effective way to improve air quality, reduce moisture, and prevent mold and mildew in your bathroom. Many homeowners often overlook the importance of proper ventilation, which can lead to long-term issues such as structural damage and health concerns. By understanding the process and following professional guidelines, you can ensure a successful installation that enhances both comfort and safety.
Bathroom ventilation fans play a critical role in maintaining a healthy living environment. They help remove excess humidity, odors, and airborne contaminants, creating a more pleasant atmosphere. Whether you're renovating your bathroom or upgrading your current setup, learning how to install a bathroom ventilation fan is a valuable skill that can save you money and improve your home's overall functionality.
In this article, we will provide a step-by-step guide to installing a bathroom ventilation fan, including essential tools, safety tips, and expert advice. Whether you're a seasoned DIY enthusiast or a beginner, this guide will equip you with the knowledge and confidence to complete the project successfully. Let's dive in!
- Hugh Jackman Kidnapped Movie
- Heritage Mental Health Clinic
- Animal Hospital In Crystal Lake Il
- It Ends With Us Showtimes Near Viking 3
- Where Can I Buy Used Musical Instruments
Table of Contents
- Introduction to Bathroom Ventilation Fans
- Tools and Materials Needed
- Planning Your Installation
- Step-by-Step Installation Process
- Wiring the Ventilation Fan
- Installing the Ductwork
- Testing and Adjusting the Fan
- Maintenance Tips for Your Ventilation Fan
- Common Issues and Troubleshooting
- Conclusion and Next Steps
Introduction to Bathroom Ventilation Fans
Why You Need a Bathroom Ventilation Fan
Bathroom ventilation fans are essential for maintaining a healthy and comfortable living environment. Excess moisture in the bathroom can lead to mold growth, which poses serious health risks and can cause damage to walls, ceilings, and other surfaces. A properly installed ventilation fan helps eliminate these issues by expelling humid air and preventing the buildup of harmful substances.
Additionally, ventilation fans help reduce unpleasant odors, making your bathroom a more pleasant space. They also contribute to energy efficiency by minimizing the need for additional heating or cooling systems. Understanding the benefits of a bathroom ventilation fan is the first step toward improving your home's indoor air quality.
Tools and Materials Needed
Essential Tools for Installation
Before you begin the installation process, it's important to gather all the necessary tools and materials. Here's a list of items you'll need:
- Doubletree Hotel International Drive Orlando Fl
- Courtyard St Charles Il
- Sporting Goods Bozeman Montana
- Amc Theaters Near Chicago Il
- Indiana Beach Amusement And Water Park
- Bathroom ventilation fan unit
- Measuring tape
- Drill and drill bits
- Screwdriver
- Wire cutters/strippers
- Electrical wire
- Ductwork and duct connectors
- Sheet metal screws
- Sealant or caulk
- Safety goggles and gloves
Planning Your Installation
Choosing the Right Fan Size
Selecting the appropriate fan size is crucial for optimal performance. The size of the fan should be based on the square footage of your bathroom. As a general rule, you'll need one CFM (cubic feet per minute) for every square foot of bathroom space. For example, a 50-square-foot bathroom would require a fan with at least 50 CFM.
It's also important to consider the noise level of the fan, which is measured in sones. A lower sone rating indicates a quieter fan, which is ideal for smaller bathrooms or spaces where noise may be a concern.
Step-by-Step Installation Process
Preparing the Installation Area
Once you have all the necessary tools and materials, it's time to prepare the installation area. Begin by turning off the power to the bathroom at the circuit breaker to ensure safety. Next, locate the desired position for the fan, typically near the shower or bathtub, and mark the outline on the ceiling or wall.
Use a stud finder to locate the joists or studs in the area, ensuring the fan will be securely mounted. Drill pilot holes at each corner of the marked area, and carefully cut out the opening using a drywall saw or reciprocating saw.
Wiring the Ventilation Fan
Connecting Electrical Components
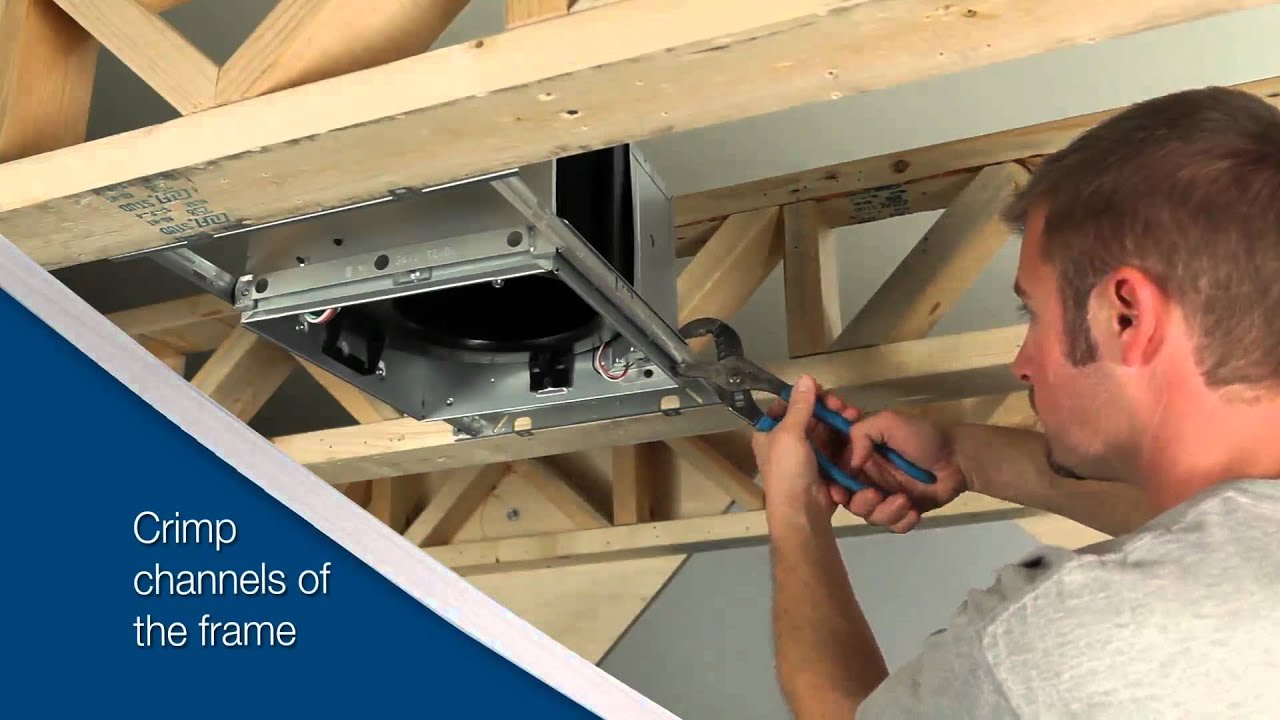
Proper wiring is essential for the safe and efficient operation of your bathroom ventilation fan. Begin by running an electrical cable from the fan to the nearest junction box or switch. Strip the ends of the wires and connect them according to the manufacturer's instructions, typically matching colors (black to black, white to white, and green or bare copper to the ground).
Secure the connections with wire nuts and ensure all connections are tight and secure. Finally, mount the fan motor housing to the ceiling or wall, following the manufacturer's guidelines for attachment.
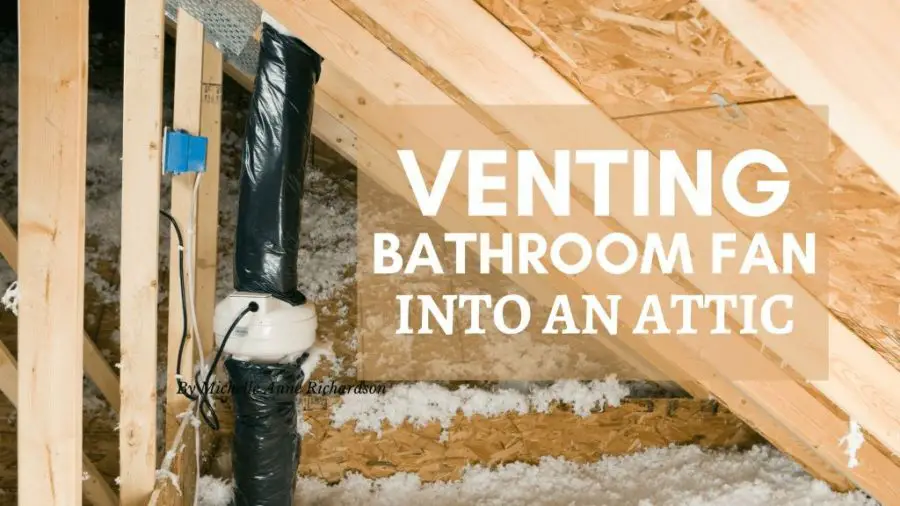
Installing the Ductwork
Routing and Securing the Ducts
The ductwork is responsible for carrying moist air from the fan to the outside of your home. Choose the shortest and straightest path possible to minimize airflow resistance. Use flexible or rigid ducting, depending on your preferences and the layout of your bathroom.
Secure the ductwork with sheet metal screws and seal any joints or connections with duct sealant or foil tape. Ensure the duct terminates outside the home, either through a wall or roof vent, and install a weatherproof vent cap to prevent water and debris from entering the system.
Testing and Adjusting the Fan
Ensuring Proper Functionality
Once the installation is complete, it's time to test the fan to ensure it operates correctly. Turn the power back on at the circuit breaker and activate the fan using the switch. Listen for any unusual noises or vibrations, and check the airflow at the vent opening outside the home.
Adjust the fan's settings as needed, such as the runtime or speed, to achieve the desired level of ventilation. If any issues arise during testing, refer to the manufacturer's troubleshooting guide or consult a professional for assistance.
Maintenance Tips for Your Ventilation Fan
Keeping Your Fan in Top Condition
To ensure your bathroom ventilation fan continues to function effectively, regular maintenance is essential. Clean or replace the fan's filter every three to six months to maintain optimal airflow and prevent dust buildup. Inspect the ductwork periodically for any damage or blockages, and clear any obstructions as needed.
Additionally, consider lubricating the fan motor annually to reduce wear and tear. By following these maintenance tips, you can extend the lifespan of your ventilation fan and ensure it provides consistent performance.
Common Issues and Troubleshooting
Addressing Potential Problems
Even with proper installation and maintenance, issues may arise with your bathroom ventilation fan. Common problems include insufficient airflow, excessive noise, or failure to turn on. These issues can often be resolved by checking the fan's settings, cleaning the ductwork, or inspecting the electrical connections.
If troubleshooting doesn't resolve the problem, it may be necessary to contact a professional for further assistance. Regular maintenance and prompt attention to issues can help prevent more significant problems down the line.
Conclusion and Next Steps
Installing a bathroom ventilation fan is a straightforward process that can significantly improve the air quality and comfort of your home. By following the steps outlined in this guide, you can ensure a successful installation that meets your needs and enhances your living environment. Remember to choose the right fan size, plan your installation carefully, and maintain your system regularly for optimal performance.
We encourage you to share your experience with installing a bathroom ventilation fan in the comments below. Your feedback and questions help us provide better guidance for future projects. For more home improvement tips and tutorials, explore our other articles and resources. Thank you for reading, and happy DIY-ing!
For further reading, check out these trusted sources:
- U.S. Department of Energy
- Environmental Protection Agency
- American Society of Heating, Refrigerating and Air-Conditioning Engineers
- What Is King Harris Real Name
- The Ridge Restaurant The Hotel Belvidere Hawley Photos
- Where Can I Buy Used Musical Instruments
- Hugh Jackman Kidnapped Movie
- What S The Capital Of Monaco
How To Install Bathroom Exhaust Roof Ventilation System
How To Install Bathroom Fan In Drop Ceiling
:max_bytes(150000):strip_icc()/how-to-install-a-bathroom-exhaust-fan-4147975-hero-2d6143520dfc425ba6b0142bf78f0549.jpg)
How to Install a Bathroom Exhaust Fan
