How To Upload Image To Cricut: A Comprehensive Guide
Uploading images to your Cricut machine has never been easier with the right steps and tools. Whether you're a beginner or an experienced crafter, mastering this process opens up endless possibilities for creative projects. In this article, we'll guide you step-by-step on how to upload images to Cricut, ensuring your designs come to life effortlessly.
Cricut machines have become indispensable tools for craft enthusiasts worldwide. They allow users to transform their digital designs into tangible creations. However, before diving into crafting, it's essential to understand the process of uploading images to your Cricut machine.
This guide will cover everything from preparing your design files to troubleshooting common issues. By the end, you'll be confident in your ability to upload images to Cricut, making your crafting experience smoother and more enjoyable.
- Miranda Lambert Country Music Awards
- Writers Only Murders In The Building
- Lake Travis Hs Football
- The Red Grape In Sonoma
- Hilton Garden Inn Nashville Smyrna
Table of Contents
- Introduction to Cricut and Image Upload
- Requirements Before Uploading
- Step-by-Step Guide to Upload Image to Cricut
- Common Issues and Troubleshooting
- Tips for Successful Image Upload
- Supported File Formats
- Alternatives to Uploading Images
- Understanding Cricut Design Space
- Frequently Asked Questions
- Conclusion and Next Steps
Introduction to Cricut and Image Upload
Cricut is a versatile cutting machine designed for crafting enthusiasts who want to bring their ideas to life. One of the key aspects of using a Cricut machine is the ability to upload custom images to the Cricut Design Space platform. This allows users to personalize their projects with unique designs, logos, or artwork.
Understanding how to upload images to Cricut is crucial for anyone looking to expand their creative horizons. Whether you're creating custom vinyl decals, personalized gifts, or intricate paper crafts, mastering this skill is essential.
In this section, we'll explore the basics of Cricut and why uploading images is such an important part of the crafting process.
- Amphitheater Tampa Florida State Fairgrounds
- Kob%C3%83 Japanese Steakhouse West 192
- Chair Exercise For Stomach
- Where Is The Legacy Museum
- Amc Theaters Near Chicago Il
Requirements Before Uploading
Before you begin the process of uploading images to Cricut, there are a few requirements you need to meet:
- A Cricut machine (such as Cricut Explore Air 2, Cricut Maker, or Cricut Joy)
- A computer or mobile device with internet access
- A Cricut account and access to the Cricut Design Space platform
- Your image file in a supported format (SVG, PNG, JPEG, etc.)
Ensuring you have all these elements in place will make the uploading process smoother and more efficient.
Step-by-Step Guide to Upload Image to Cricut
Step 1: Create or Find Your Image
The first step in uploading an image to Cricut is to either create or find the image you want to use. You can:
- Create your own design using graphic design software like Adobe Illustrator or Canva.
- Search for free or paid images online from reputable sources like Etsy or PNGTree.
- Use stock images or clip art available in Cricut Design Space.
Ensure that the image you choose is of high quality and resolution to avoid any issues during the cutting process.
Step 2: Prepare Your Image
Once you have your image, the next step is to prepare it for upload:
- Resize the image to fit your project dimensions.
- Convert the image to a supported file format if necessary.
- Ensure the image is in black and white if you plan to use the contour feature.
Preparing your image properly will help ensure that it cuts accurately on your Cricut machine.
Step 3: Upload the Image to Cricut Design Space
The final step is to upload your image to Cricut Design Space:
- Log in to your Cricut account and open the Design Space platform.
- Click on "Uploads" in the left-hand menu.
- Select "Upload Image" and choose the file from your computer.
- Once uploaded, you can edit and adjust the image as needed within Design Space.
With your image now uploaded, you're ready to start your crafting project!
Common Issues and Troubleshooting
While uploading images to Cricut is generally straightforward, there may be times when issues arise. Here are some common problems and how to resolve them:
- Image not uploading: Ensure your file is in a supported format and try uploading again.
- Image quality issues: Use a high-resolution image and resize it appropriately.
- Design Space errors: Clear your browser cache or try using a different browser.
By addressing these issues promptly, you can avoid delays in your crafting projects.
Tips for Successful Image Upload
To ensure a smooth and successful image upload experience, consider the following tips:
- Always check the file format and resolution of your image before uploading.
- Use the contour feature in Design Space to refine your cuts for more intricate designs.
- Experiment with different materials to see how they interact with your uploaded images.
These tips will help you achieve better results and enhance your crafting experience.
Supported File Formats
Cricut Design Space supports several file formats for image uploads, including:
- SVG
- PNG
- JPEG
- BMP
- GIF
Using a supported file format ensures compatibility and reduces the risk of errors during the upload process.
Alternatives to Uploading Images
If you're unable to upload an image or prefer not to, there are alternatives:
- Use pre-designed images from the Cricut library.
- Create your design directly within Cricut Design Space using its built-in tools.
- Use third-party software to design and export files compatible with Cricut.
These alternatives provide flexibility and allow you to explore different creative options.
Understanding Cricut Design Space
Cricut Design Space is a powerful platform that enables users to design, customize, and prepare projects for their Cricut machines. It offers a wide range of features, including:
- Access to thousands of pre-designed images and fonts.
- Tools for creating custom designs and editing uploaded images.
- Integration with Cricut machines for seamless project execution.
Understanding how to use Cricut Design Space effectively will enhance your overall crafting experience.
Frequently Asked Questions
Here are some common questions about uploading images to Cricut:
- Can I upload any image to Cricut? While you can upload most images, ensure they are in a supported format and comply with copyright laws.
- Do I need a Cricut Access subscription? A subscription is not required to upload images, but it provides access to additional features and designs.
- What happens if my image is too large? Resize the image to fit your project dimensions before uploading.
These FAQs should address most concerns and help clarify the process.
Conclusion and Next Steps
Uploading images to Cricut is a straightforward process that opens up endless possibilities for creative projects. By following the steps outlined in this guide, you can confidently upload and prepare your images for cutting. Remember to always check your file formats, resolutions, and dimensions to ensure the best results.
We encourage you to share your thoughts and experiences in the comments section below. Additionally, feel free to explore other articles on our site for more crafting tips and tricks. Happy crafting!
- South Dakota State Theater
- It Ends With Us Showtimes Near Viking 3
- Rehoboth Beach Delaware County
- Stores In Fashion Island
- 30 Inch Tv Vizio

How to Upload SVG Files to Cricut Design Space Printable Crush

How to Upload SVG Files to Cricut Design Space Printable Crush
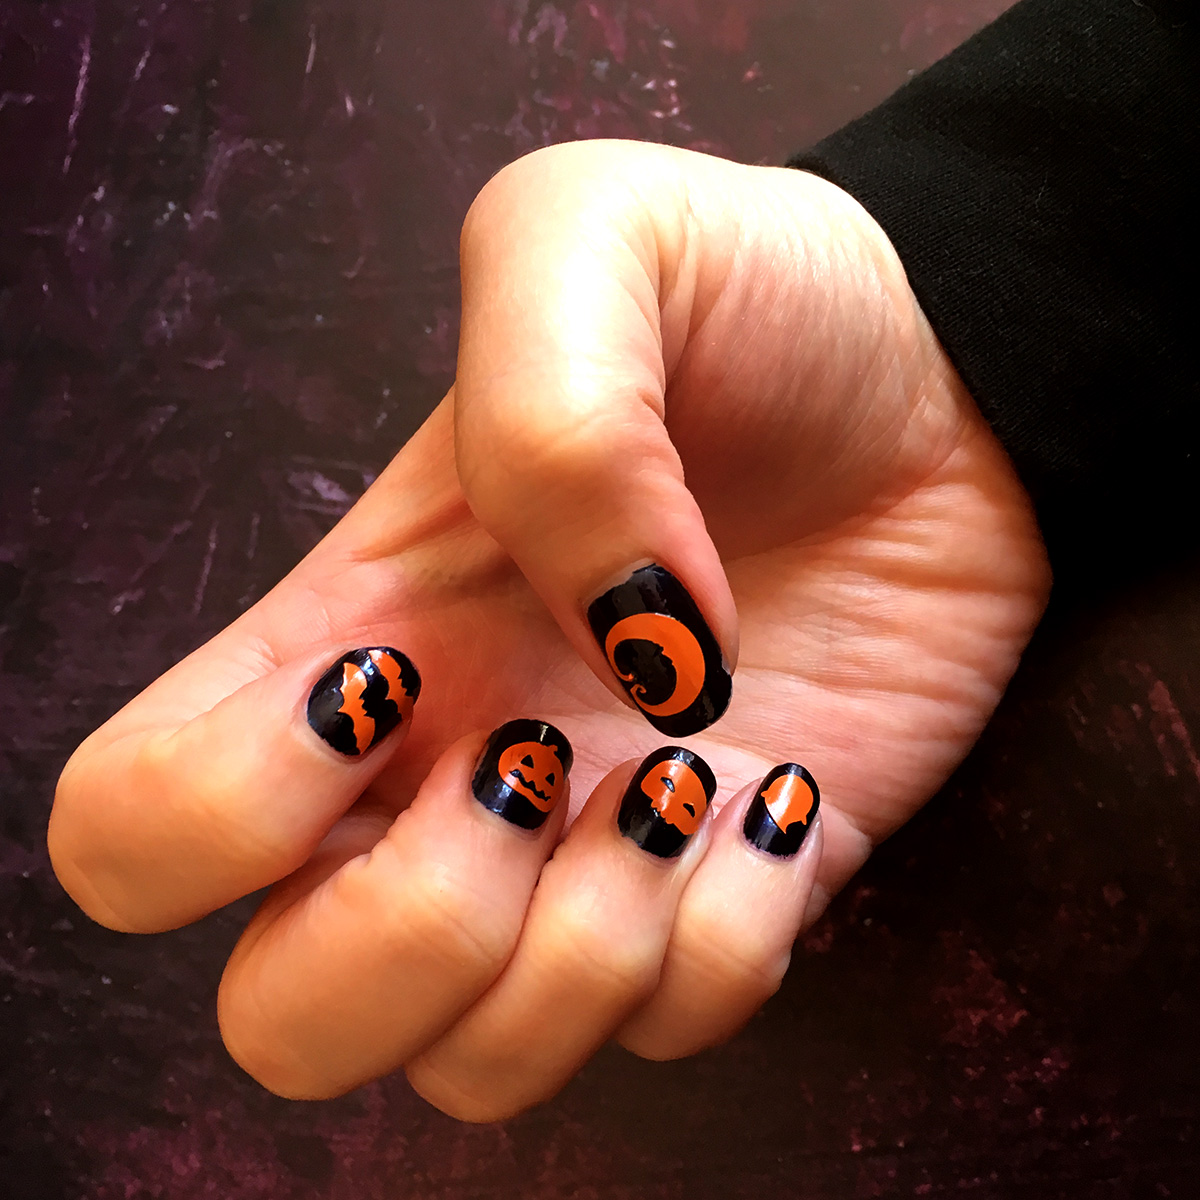
How to Make DIY Vinyl Nail Decals with a Cricut Craft with Sarah
