How Do I Stain A Table: A Comprehensive Guide To Achieving Professional Results
Transforming an ordinary table into a stunning piece of furniture is easier than you think. If you've ever wondered how do I stain a table, you're in the right place. Whether you're a beginner or a seasoned DIY enthusiast, this guide will walk you through every step of the process.
Staining a table is not only about enhancing its appearance; it’s also about adding durability and protecting the wood from wear and tear. This project can breathe new life into old furniture and give your home a fresh look.
From selecting the right materials to applying the stain and finishing touches, we’ll cover everything you need to know to achieve professional results. Let’s dive in!
- Words Don T Come Easy Lyrics
- Las Vegas Hotel Mgm Grand Pictures
- Lake Travis Hs Football
- Gospel Choir Christmas Music
- Leaf And Bud Photos
Table of Contents
- Understanding the Basics of Staining
- Tools and Materials You’ll Need
- Preparing the Table for Staining
- Choosing the Right Stain
- The Staining Application Process
- Adding Finishing Touches
- Common Mistakes to Avoid
- Tips and Tricks for Perfect Results
- Maintaining Your Stained Table
- Frequently Asked Questions
Understanding the Basics of Staining
Before we dive into the specifics of how do I stain a table, it’s important to understand the basics of wood staining. Staining wood involves applying a colored finish that enhances the natural grain and texture of the wood while providing protection.
The process requires patience, attention to detail, and the right tools. Understanding the type of wood you’re working with is crucial, as different woods react differently to stains. Hardwoods like oak and maple often require a pre-stain conditioner to ensure even absorption.
Additionally, the type of stain you choose will affect the final appearance. Oil-based stains penetrate deeper into the wood, while water-based stains dry faster and offer a wider range of colors.
- The Silver And Gold Is Mine
- Amc Theaters Near Chicago Il
- Rush Hour Go Karts Garner
- It Ends With Us Showtimes Near Viking 3
- Pymatuning State Park Spillway
Why Stain a Table?
- Enhances the natural beauty of the wood
- Protects the surface from scratches and stains
- Increases the longevity of the furniture
- Allows for customization and personalization
Tools and Materials You’ll Need
Having the right tools and materials is essential for a successful staining project. Here’s a list of what you’ll need:
- Sandpaper (120-grit and 220-grit)
- Tack cloth or lint-free rags
- Pre-stain conditioner (optional)
- Wood stain of your choice
- Paintbrushes or foam applicators
- Protective gloves and mask
- Clear polyurethane finish (optional)
Make sure to choose high-quality materials to ensure the best results. Investing in good tools will make the process smoother and more enjoyable.
Preparing the Table for Staining
Proper preparation is key to achieving a flawless finish. Start by cleaning the table thoroughly to remove any dirt, dust, or grease. Use a mild detergent and water, then let the table dry completely.
Once clean, sand the surface using 120-grit sandpaper to remove any old finish or imperfections. Follow up with 220-grit sandpaper for a smooth finish. Wipe the surface with a tack cloth to remove any sanding dust.
If you’re working with hardwood, consider applying a pre-stain conditioner. This will help the stain absorb evenly and prevent blotchiness.
What to Look for in a Pre-Stain Conditioner
When choosing a pre-stain conditioner, look for products specifically designed for your type of wood. Ensure it’s compatible with the stain you plan to use. Apply the conditioner according to the manufacturer’s instructions, allowing it to dry before proceeding.
Choosing the Right Stain
Selecting the right stain is one of the most important decisions you’ll make. Consider the color, finish, and type of stain that best suits your project.
Oil-based stains are ideal for deep penetration and rich colors, while water-based stains offer a wider range of colors and dry faster. Test the stain on a small, inconspicuous area of the table to ensure it meets your expectations.
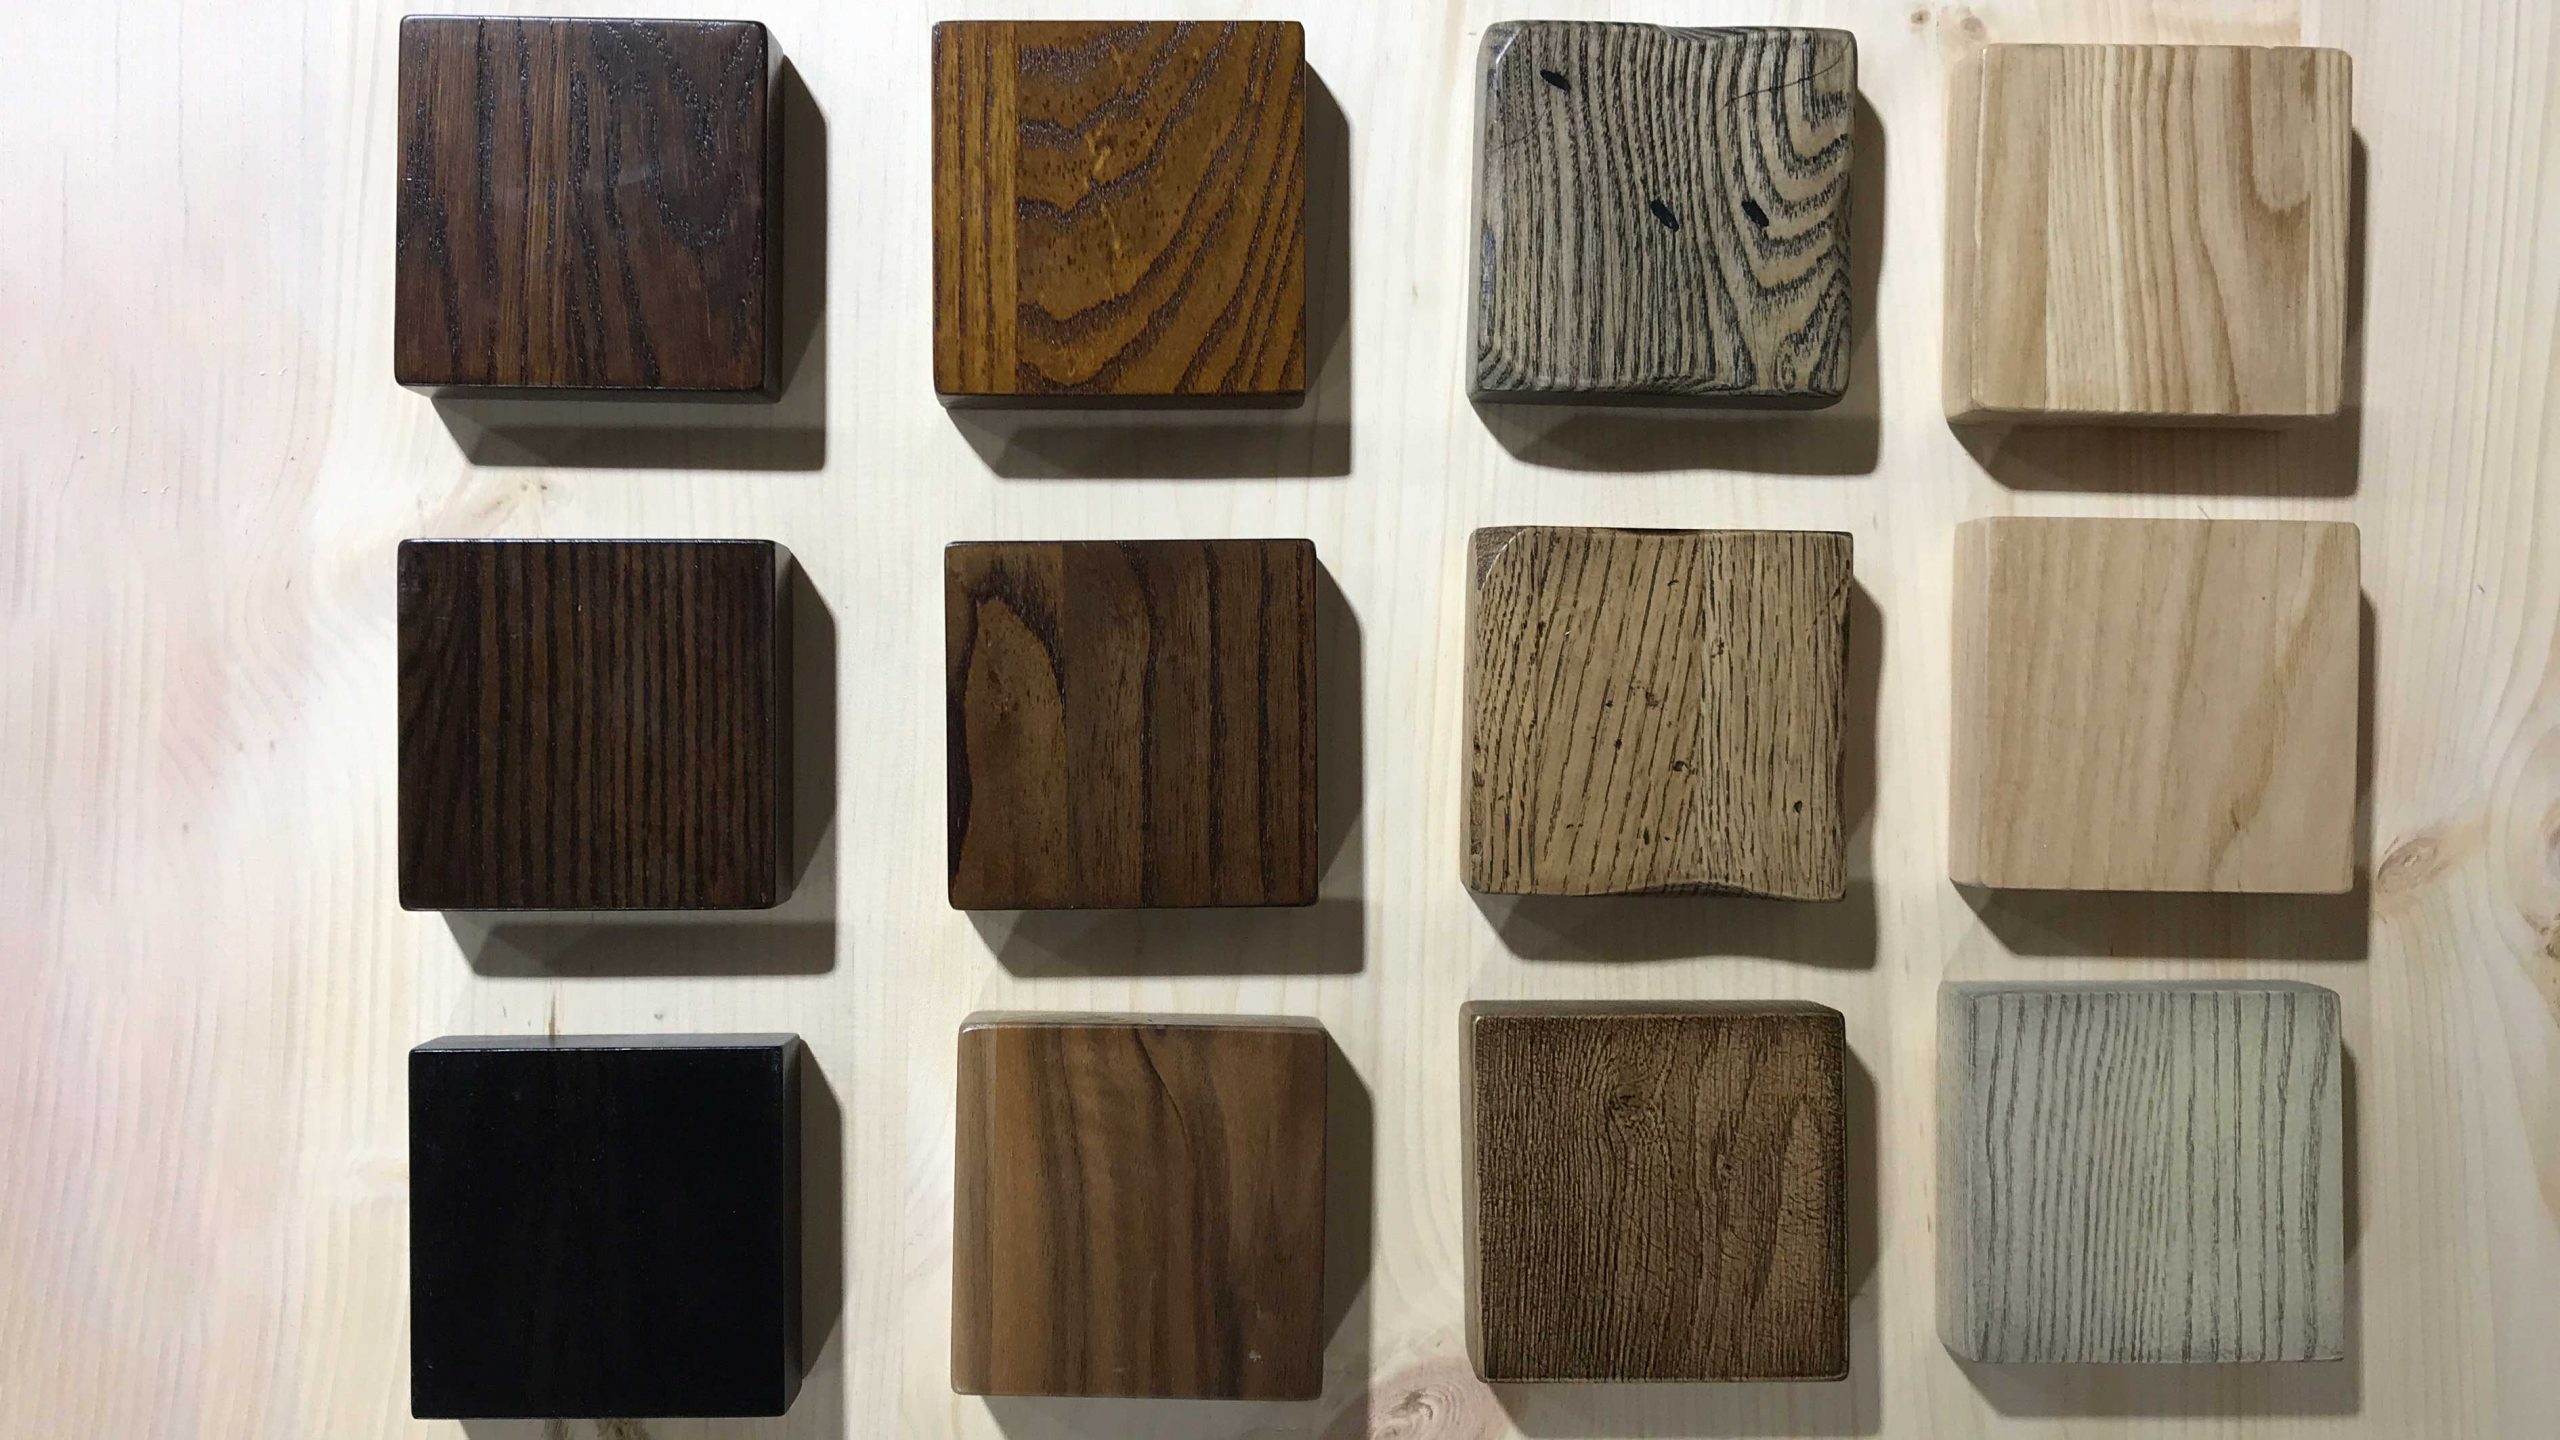
Popular stain colors include walnut, cherry, and espresso. Choose a color that complements your home decor and personal taste.
Key Factors to Consider
- Wood type and grain
- Desired color and finish
- Compatibility with pre-stain conditioner
- Application method (brush, rag, or spray)
The Staining Application Process
Now that you’re prepared, it’s time to apply the stain. Begin by wearing protective gloves and working in a well-ventilated area. Pour a small amount of stain onto a clean cloth or foam applicator.
Apply the stain in the direction of the wood grain, working in small sections. Use even strokes to ensure consistent coverage. Allow the stain to sit for a few minutes, then wipe off any excess with a clean cloth.
Repeat the process if necessary to achieve the desired depth of color. Let the stain dry according to the manufacturer’s instructions before moving on to the next step.
Tips for Application
For best results, follow these tips:
- Work in a dust-free environment
- Apply thin, even layers
- Avoid overlapping strokes
- Allow adequate drying time between coats
Adding Finishing Touches
Once the stain has dried, it’s time to add finishing touches. Applying a clear polyurethane finish will provide additional protection and enhance the final appearance.
Choose between a satin, semi-gloss, or high-gloss finish depending on your preference. Apply the polyurethane with a clean brush, working in the direction of the grain. Allow it to dry completely before using the table.
This final step ensures your table is both beautiful and durable, ready to withstand daily use.
Choosing the Right Finish
When selecting a finish, consider the level of sheen you want. Satin finishes offer a subtle shine, while high-gloss finishes provide a mirror-like appearance. Test the finish on a small area to ensure it meets your expectations.
Common Mistakes to Avoid
Even experienced woodworkers can make mistakes when staining a table. Here are some common pitfalls to avoid:
- Skipping the sanding process
- Not testing the stain beforehand
- Applying too much stain at once
- Not allowing adequate drying time
By being aware of these potential errors, you can ensure a smoother and more successful staining experience.
Tips and Tricks for Perfect Results
Here are some additional tips and tricks to help you achieve professional-quality results:
- Work in small sections to maintain consistency
- Use high-quality applicators for even coverage
- Allow each coat to dry thoroughly before applying the next
- Keep the workspace clean and organized
These tips will help you avoid common issues and achieve a flawless finish.
Maintaining Your Stained Table
To keep your stained table looking its best, proper maintenance is essential. Avoid placing hot items directly on the surface and use coasters for drinks. Clean spills promptly with a damp cloth, and avoid abrasive cleaners that can damage the finish.
Regularly dust the table with a soft cloth to prevent buildup. Consider reapplying the finish every few years to maintain its appearance and protect the wood.
Frequently Asked Questions
How long does it take for the stain to dry?
The drying time depends on the type of stain and environmental conditions. Most stains require 24-48 hours to dry completely. Always follow the manufacturer’s instructions for best results.
Can I stain over an existing finish?
Yes, but you’ll need to remove the old finish first. Use a paint stripper or sandpaper to strip the surface before applying the new stain.
What’s the difference between oil-based and water-based stains?
Oil-based stains penetrate deeper and offer richer colors, while water-based stains dry faster and provide a wider range of colors. Both have their advantages, so choose based on your project needs.
Do I need to apply a polyurethane finish?
While not mandatory, applying a polyurethane finish provides additional protection and enhances the final appearance. It’s highly recommended for tables that will see regular use.
Kesimpulan
In conclusion, staining a table is a rewarding project that can transform your furniture and enhance your home’s aesthetic. By following the steps outlined in this guide, you can achieve professional-quality results with ease.
We encourage you to share your experience in the comments below or explore other articles on our site for more DIY inspiration. Happy staining!
- Gospel Choir Christmas Music
- Food At Jordan Landing
- Rush Hour Go Karts Garner
- Bar B Q Meaning
- Where Can I Buy Used Musical Instruments
Best Wood Stain For Coffee Table
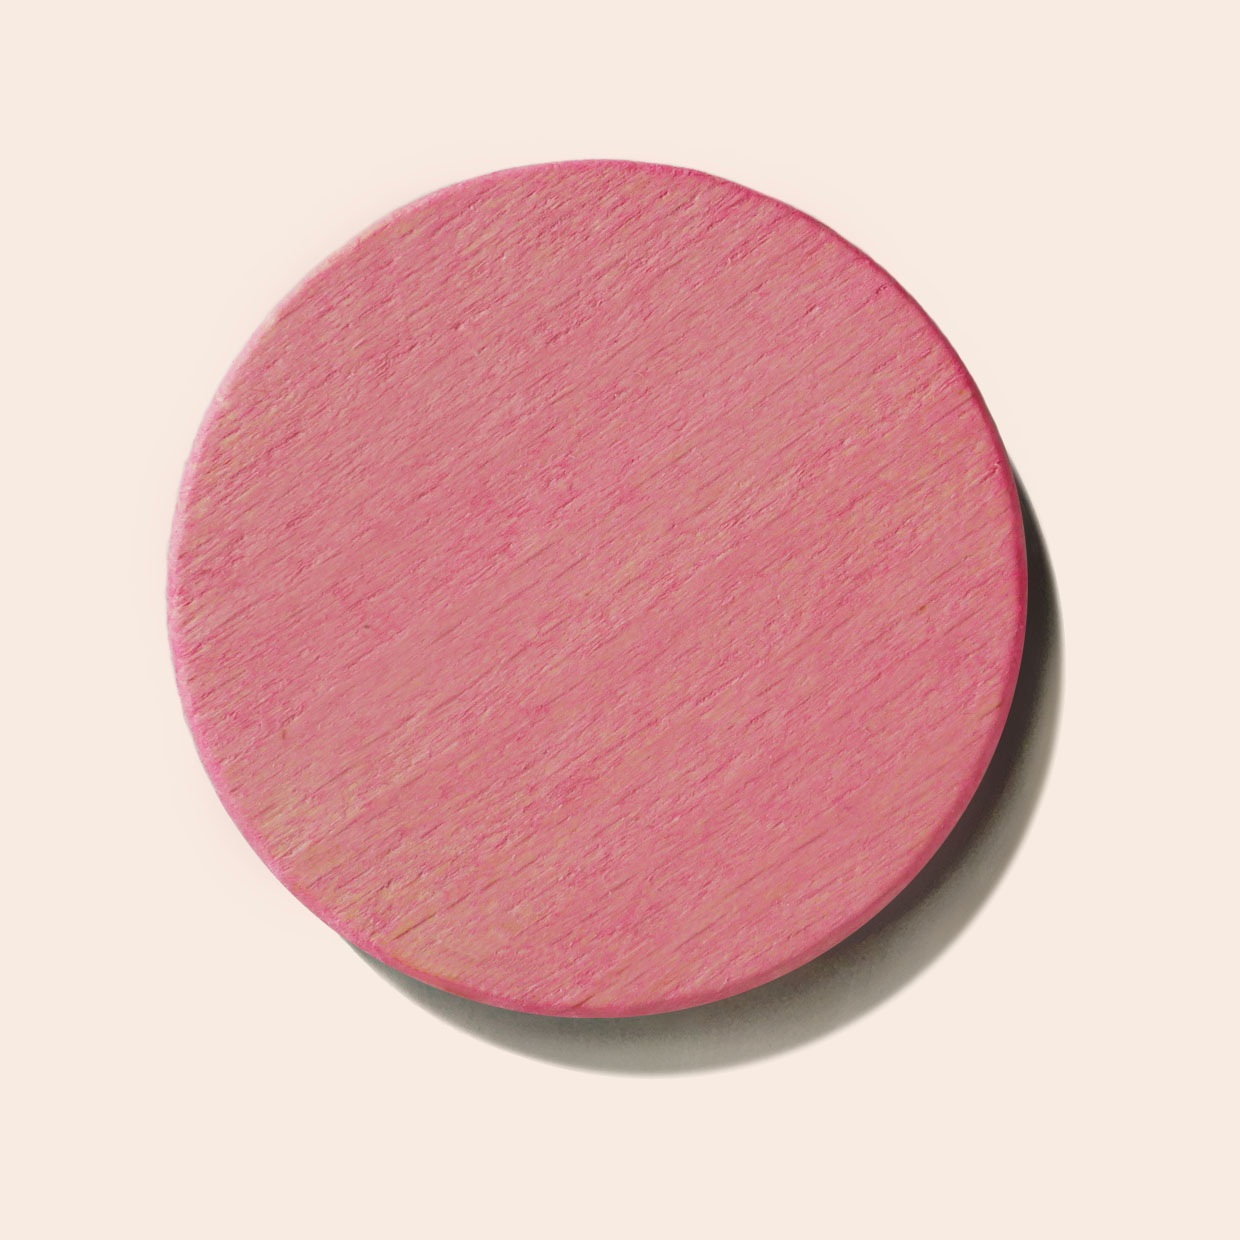
Blush Dye Stain Sloe Wood

Golden Yellow Dye Stain Sloe Wood
