How To Replace Line On A Stihl Trimmer: A Comprehensive Guide
Replacing the line on a Stihl trimmer is an essential skill for maintaining your landscaping tools and ensuring optimal performance. Whether you're a homeowner or a professional gardener, knowing how to do this task can save you time and money. This guide will walk you through the process step-by-step, ensuring your Stihl trimmer is always ready for action.
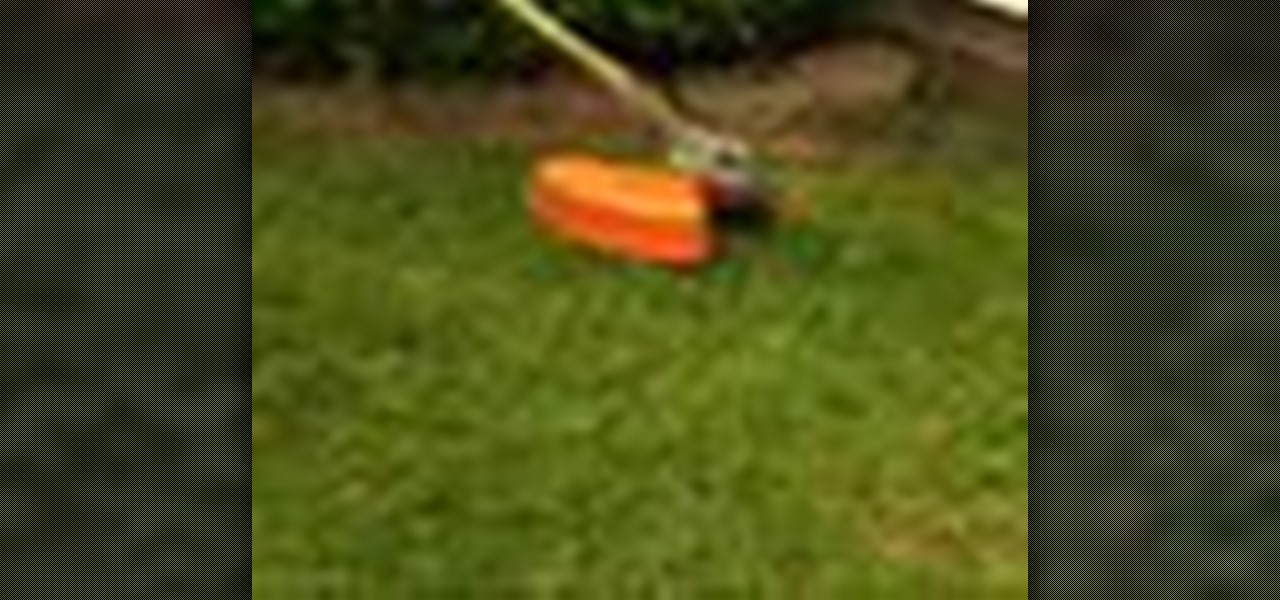
Stihl trimmers are renowned for their durability and efficiency, but like any tool, they require regular maintenance. One of the most common maintenance tasks is replacing the trimmer line. Over time, the line wears out or breaks, affecting the trimmer's performance. Understanding how to replace it is crucial to keep your equipment in top condition.
In this article, we'll cover everything you need to know about replacing the line on a Stihl trimmer. From tools and materials required to detailed steps and troubleshooting tips, we've got you covered. By the end of this guide, you'll be confident in performing this task yourself.
- Air Force Bases Wyoming
- Walmart Hagerstown Md Sharpsburg Pike
- Isekai Harem Monogatari Crunchyroll
- When Did 3 Point Line Start In College
- What Is King Harris Real Name
Table of Contents
- Tools and Materials Needed for Replacing Line on Stihl Trimmer
- Step-by-Step Guide to Replace Line on Stihl Trimmer
- Common Issues and Troubleshooting
- Maintenance Tips for Stihl Trimmers
- Types of Trimmer Lines and Their Uses
- Safety Measures When Replacing Trimmer Line
- Frequently Asked Questions About Stihl Trimmer Line Replacement
- Comparison Between Automatic and Manual Line Feed Systems
- Benefits of Regular Line Replacement
- Conclusion and Call to Action
Tools and Materials Needed for Replacing Line on Stihl Trimmer
Before diving into the process, it's important to gather all the necessary tools and materials. Having everything ready will make the replacement process smoother and more efficient. Below is a list of items you'll need:
Essential Tools
- Philips-head screwdriver
- Spool key (if applicable)
- Measuring tape
Materials Required
- Replacement trimmer line (compatible with your Stihl model)
- Protective gloves
Ensure that the replacement line you purchase matches the specifications of your Stihl trimmer. Refer to your user manual for the recommended line diameter and type.
Step-by-Step Guide to Replace Line on Stihl Trimmer
Replacing the line on a Stihl trimmer involves a series of straightforward steps. Follow this guide carefully to ensure the process is completed correctly.
- Universal Studios Hollywood Whoville
- La Copa South Padre Island Reviews
- Alexs Brother In Lufe Is Strange
- Midwest Wine Making Supplies
- Eminem Has Released 16 Songs On The Billboard Hot 100
Step 1: Turn Off the Trimmer
Always ensure the Stihl trimmer is turned off and the engine has cooled down before starting any maintenance work. This prevents accidental injuries and damage to the equipment.
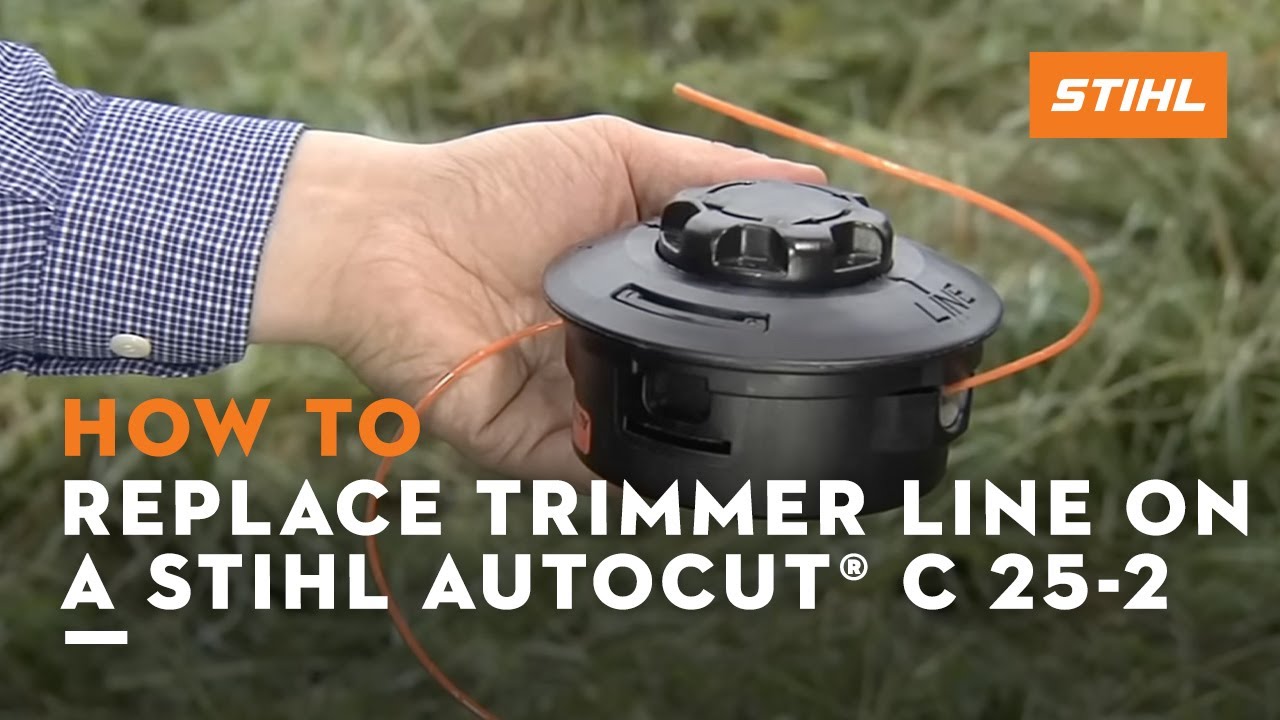
Step 2: Remove the Spool Cover
Using the Philips-head screwdriver, unscrew the spool cover from the trimmer head. Set the screws aside in a safe place to avoid losing them.
Step 3: Take Out the Spool
Gently pull the spool out of the housing. If your Stihl model uses a spool key, insert it into the designated hole to release the spool.
Step 4: Measure and Cut the Line
Cut two lengths of trimmer line according to the specifications in your user manual. Typically, this will be around 10-12 feet per line.
Step 5: Thread the Line
Insert one end of the line into the hole on the spool. Wind the line around the spool in the direction indicated by the arrows. Repeat the process for the second line if your model uses a dual-line system.
Step 6: Reassemble the Trimmer Head
Place the spool back into the housing and secure it with the spool cover. Tighten the screws evenly to ensure the cover is snug but not overtightened.
Common Issues and Troubleshooting
Even with proper maintenance, issues can arise when replacing the trimmer line. Below are some common problems and their solutions:
Issue 1: Line Not Feeding Properly
Solution: Check if the line is correctly wound around the spool and that the spool is installed in the right direction. Ensure the tap mechanism is functioning correctly.
Issue 2: Line Breaks Easily
Solution: Use high-quality trimmer line suitable for your Stihl model. Avoid over-tightening the spool cover, which can cause excessive friction.
Maintenance Tips for Stihl Trimmers
Regular maintenance extends the lifespan of your Stihl trimmer and ensures it performs optimally. Here are some tips to keep your trimmer in top condition:
- Inspect the trimmer head regularly for wear and tear.
- Clean the trimmer after each use to prevent debris buildup.
- Sharpen or replace the blade if your model uses one.
- Follow the manufacturer's guidelines for oiling and lubrication.
Types of Trimmer Lines and Their Uses
Not all trimmer lines are created equal. Choosing the right type depends on the material you're cutting and the power of your Stihl trimmer. Below are some common types:
Monofilament Line
This is the most common type, ideal for cutting grass and light vegetation. It's durable and easy to replace.
Twisted Line
Twisted lines are thicker and more robust, making them suitable for heavier vegetation like weeds and small shrubs.
Safety Measures When Replacing Trimmer Line
Safety should always be a priority when working with power tools. Follow these safety measures:
- Wear protective gloves to prevent cuts and abrasions.
- Ensure the trimmer is turned off and the engine is cool before starting.
- Work in a well-lit and open area to avoid accidents.
Frequently Asked Questions About Stihl Trimmer Line Replacement
Here are some common questions users have about replacing Stihl trimmer lines:
Q1: How often should I replace the trimmer line?
A: The frequency depends on usage, but generally, you should replace the line when it becomes frayed or breaks during operation.
Q2: Can I use any type of trimmer line with my Stihl?
A: No, it's essential to use a line compatible with your Stihl model to ensure optimal performance and avoid damage.
Comparison Between Automatic and Manual Line Feed Systems
Stihl trimmers come with either automatic or manual line feed systems. Here's a comparison:
Automatic Feed System
Pros: Convenient and requires less user intervention. Cons: Slightly more expensive and may require more frequent line replacements.
Manual Feed System
Pros: Cost-effective and simpler to maintain. Cons: Requires the user to manually tap the head to release more line.
Benefits of Regular Line Replacement
Regularly replacing the trimmer line offers several benefits:
- Improved cutting efficiency and precision.
- Reduced strain on the trimmer motor, extending its lifespan.
- Enhanced safety by preventing line breakage during operation.
Conclusion and Call to Action
Replacing the line on a Stihl trimmer is a straightforward task that ensures your equipment remains in excellent condition. By following the steps outlined in this guide, you can confidently perform this maintenance task yourself. Remember to use the correct tools and materials, and always prioritize safety.
We encourage you to share this article with others who may find it helpful. If you have any questions or additional tips, feel free to leave a comment below. Don't forget to explore our other articles for more gardening and landscaping advice!
Data sources: Stihl official website, user manuals, and expert reviews.
- Scott Peterson New Theory
- Midwest Wine Making Supplies
- Shoe Stores At University Park Mall
- How To Kill A Unicorn Movie
- Give Me The Number To Cricket Wireless

Stihl Single Line Trimmer Head Clearance Seller www.oceanproperty.co.th
How to Replace the line on a STIHL trimmer Head « Tools & Equipment
How to Replace Trimmer Line on a STIHL AutoCut® C 252 Doovi
