How To Replace Line On A Stihl Trimmer: A Comprehensive Guide
When it comes to maintaining your Stihl trimmer, knowing how to replace the line is a crucial skill that every homeowner or professional should master. Whether you're dealing with a broken line or simply need a replacement for optimal performance, understanding the process will save you time and money. A well-maintained trimmer ensures cleaner cuts, better efficiency, and longer tool lifespan. In this guide, we'll walk you through every step of replacing the line on your Stihl trimmer.
Replacing the line on your Stihl trimmer is not as complicated as it may seem. With the right instructions and tools, you can complete the task in no time. This guide will cover everything from understanding the components of your trimmer to step-by-step instructions for replacing the line. Whether you're a beginner or an experienced user, this article will provide you with the information you need to perform the task confidently.
Our focus is to ensure that you understand the importance of proper maintenance for your Stihl trimmer. A well-maintained trimmer not only improves performance but also enhances safety during operation. Let’s dive into the details and learn how to replace the line effectively.
- Stores In Fashion Island
- Hilton Garden Inn Nashville Smyrna
- Where Is The Legacy Museum
- It Ends With Us Showtimes Near Viking 3
- Little House On The Prairie Mary Blind
Understanding the Components of a Stihl Trimmer
Before diving into the replacement process, it’s essential to familiarize yourself with the key components of your Stihl trimmer. Understanding these parts will make the replacement process easier and more efficient.
Key Parts of the Trimmer Head
- Spool: The spool is the component that holds the trimmer line. It is located inside the trimmer head.
- Trimmer Head: The trimmer head is the part at the end of the shaft where the spool is housed. It is responsible for feeding the line during operation.
- Retaining Ring: The retaining ring holds the spool in place within the trimmer head. It needs to be removed to access the spool.
By understanding these components, you’ll be better prepared to replace the line effectively. Let’s move on to the tools you’ll need for the job.
Tools and Materials Needed
Having the right tools and materials on hand will make the replacement process smoother and more efficient. Here’s what you’ll need:
- Serenity Massage North Andover Ma
- Sleep In Rehoboth Beach
- Glass Stuck In Foot
- The Ridge Restaurant The Hotel Belvidere Hawley Photos
- Universal Studios Hollywood Whoville
- Replacement trimmer line (compatible with your Stihl model)
- Screwdriver or Allen wrench (depending on your model)
- Needle-nose pliers
- Scissors
Ensure that you have the correct size and type of trimmer line for your specific Stihl model. Refer to your user manual for precise specifications. Now that you have your tools ready, let’s proceed to the next step.
Step-by-Step Guide to Replace Line on a Stihl Trimmer
Step 1: Turn Off the Trimmer
Safety should always be your top priority when working with power tools. Before starting the replacement process, ensure that the trimmer is turned off and the ignition switch is in the "off" position. This will prevent accidental startups during the process.
Step 2: Remove the Trimmer Head
To access the spool, you’ll need to remove the trimmer head. Most Stihl models use a retaining ring that can be unscrewed by hand or with needle-nose pliers. Carefully remove the retaining ring and set it aside.
Step 3: Take Out the Spool
Once the retaining ring is removed, gently pull out the spool from the trimmer head. You may need to wiggle it slightly to free it from any tension. Be careful not to lose any small parts during this process.
Step 4: Prepare the New Line
Cut a length of replacement line according to your Stihl model’s specifications. Typically, you’ll need about 10-12 feet of line. Thread one end of the line through the hole in the center of the spool. Wind the line around the spool in the direction indicated by the arrows on the spool.
Step 5: Insert the Spool Back into the Trimmer Head
Once the line is wound, insert the spool back into the trimmer head. Ensure that the line is fed through the exit hole in the trimmer head. Replace the retaining ring and hand-tighten it securely.
Step 6: Test the Trimmer
Before using the trimmer, test the line feed mechanism by tapping the end of the trimmer head on the ground. The line should extend automatically as needed. If the line does not extend properly, check the spool for correct winding and alignment.
By following these steps, you’ll be able to replace the line on your Stihl trimmer with ease. Now, let’s explore some common issues you might encounter during the process.
Common Issues and Troubleshooting
Even with careful preparation, you might encounter some issues while replacing the line. Here are some common problems and their solutions:
- Line Not Feeding Properly: Ensure that the line is wound in the correct direction and that the spool is seated properly in the trimmer head.
- Line Breaking Frequently: Use high-quality trimmer line and avoid over-tightening the spool when reinstalling it.
- Trimmer Head Not Spinning: Check for obstructions or damage to the trimmer head and replace if necessary.
If you continue to experience issues, consult your Stihl user manual or contact a certified service technician for further assistance.
Choosing the Right Trimmer Line
Selecting the appropriate trimmer line is crucial for optimal performance. Here are some factors to consider:
Line Diameter
Stihl trimmers typically use line diameters ranging from 0.080 inches to 0.105 inches. Refer to your user manual for the recommended diameter for your specific model.
Material Composition
Trimmer lines are made from various materials, each with its own advantages. Nylon lines are the most common and offer a good balance of flexibility and durability. For tougher jobs, consider using abrasion-resistant lines.
Choosing the right line will ensure better cutting performance and extend the lifespan of your trimmer.
Maintenance Tips for Your Stihl Trimmer
Regular maintenance is key to keeping your Stihl trimmer in top condition. Here are some tips to help you maintain your tool:
- Inspect the trimmer line regularly and replace it as needed.
- Clean the trimmer head and spool area after each use to prevent debris buildup.
- Check the air filter and fuel system for proper function.
By following these maintenance tips, you’ll ensure that your Stihl trimmer remains reliable and efficient for years to come.
Benefits of Proper Trimmer Line Replacement
Replacing the trimmer line on your Stihl trimmer offers several benefits:
Improved Cutting Performance
A fresh line ensures cleaner cuts and reduces the risk of damage to your landscaping. It also prevents the trimmer from overheating due to excessive strain.
Enhanced Safety
A worn or broken line can pose a safety hazard during operation. Replacing the line regularly minimizes the risk of accidents and injuries.
Investing time in proper maintenance will pay off in the long run by improving both performance and safety.
Safety Precautions When Working with Stihl Trimmers
Safety should always be a priority when operating power tools like Stihl trimmers. Here are some safety tips to keep in mind:
- Wear appropriate personal protective equipment (PPE), including gloves, safety glasses, and hearing protection.
- Keep bystanders at a safe distance from the work area.
- Inspect the trimmer for damage or wear before each use.
By adhering to these safety precautions, you’ll ensure a safe and efficient trimming experience.
Conclusion
Replacing the line on your Stihl trimmer is a straightforward process that can significantly improve the performance and longevity of your tool. By following the steps outlined in this guide, you’ll be able to replace the line with confidence and ease. Remember to choose the right line for your specific model and maintain your trimmer regularly for optimal performance.
We encourage you to share your experiences or ask questions in the comments section below. Your feedback helps us improve our content and provide even more value to our readers. Don’t forget to explore other articles on our site for additional tips and tricks on maintaining your landscaping tools.
For more information, refer to the official Stihl website or consult your user manual for model-specific instructions.
Table of Contents
- Understanding the Components of a Stihl Trimmer
- Tools and Materials Needed
- Step-by-Step Guide to Replace Line on a Stihl Trimmer
- Common Issues and Troubleshooting
- Choosing the Right Trimmer Line
- Maintenance Tips for Your Stihl Trimmer
- Benefits of Proper Trimmer Line Replacement
- Safety Precautions When Working with Stihl Trimmers
- Conclusion
- How To Install Outside Water Spigot
- Where To Get A Husky Dog
- Midwest Wine Making Supplies
- Give Me The Number To Cricket Wireless
- How To Kill A Unicorn Movie

Stihl Single Line Trimmer Head Clearance Seller www.oceanproperty.co.th
How to Replace the line on a STIHL trimmer Head « Tools & Equipment
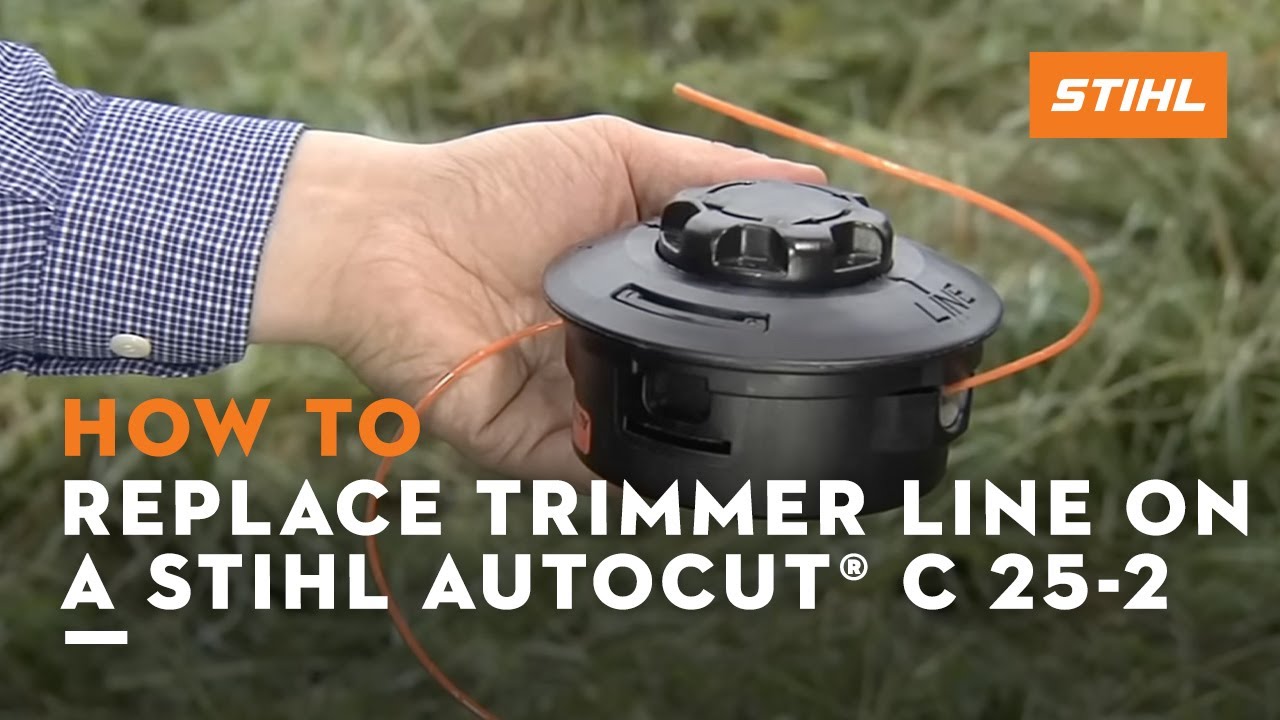
How to Replace Trimmer Line on a STIHL AutoCut® C 252 Doovi
